
This is the full path for one OnlyFans creator, in order. Each step is one action, one expected result, one screenshot and a link to the detailed article. Follow them top to bottom and you go from an empty OnlyChat account to a fan getting a real answer from the AI..
Count a few hours in total. Most of that time goes into the scripts and the media descriptions, not into the clicks.
What you need before Step 1
- Google Chrome on a desktop computer.
- The creator's OnlyFans email and password, once.
- Crypto to load your balance, or write to Greg, our CEO, for another payment method.
- Content already in the creator's OnlyFans vault.
Step 1: Create your OnlyChat account
Open https://app.only-chat.ai and click Sign up. Confirm you are 18 or older, fill the four short steps of the form, then type the 6-digit code sent to your email.
Result: you land on the Creators board, empty, and your organization exists.
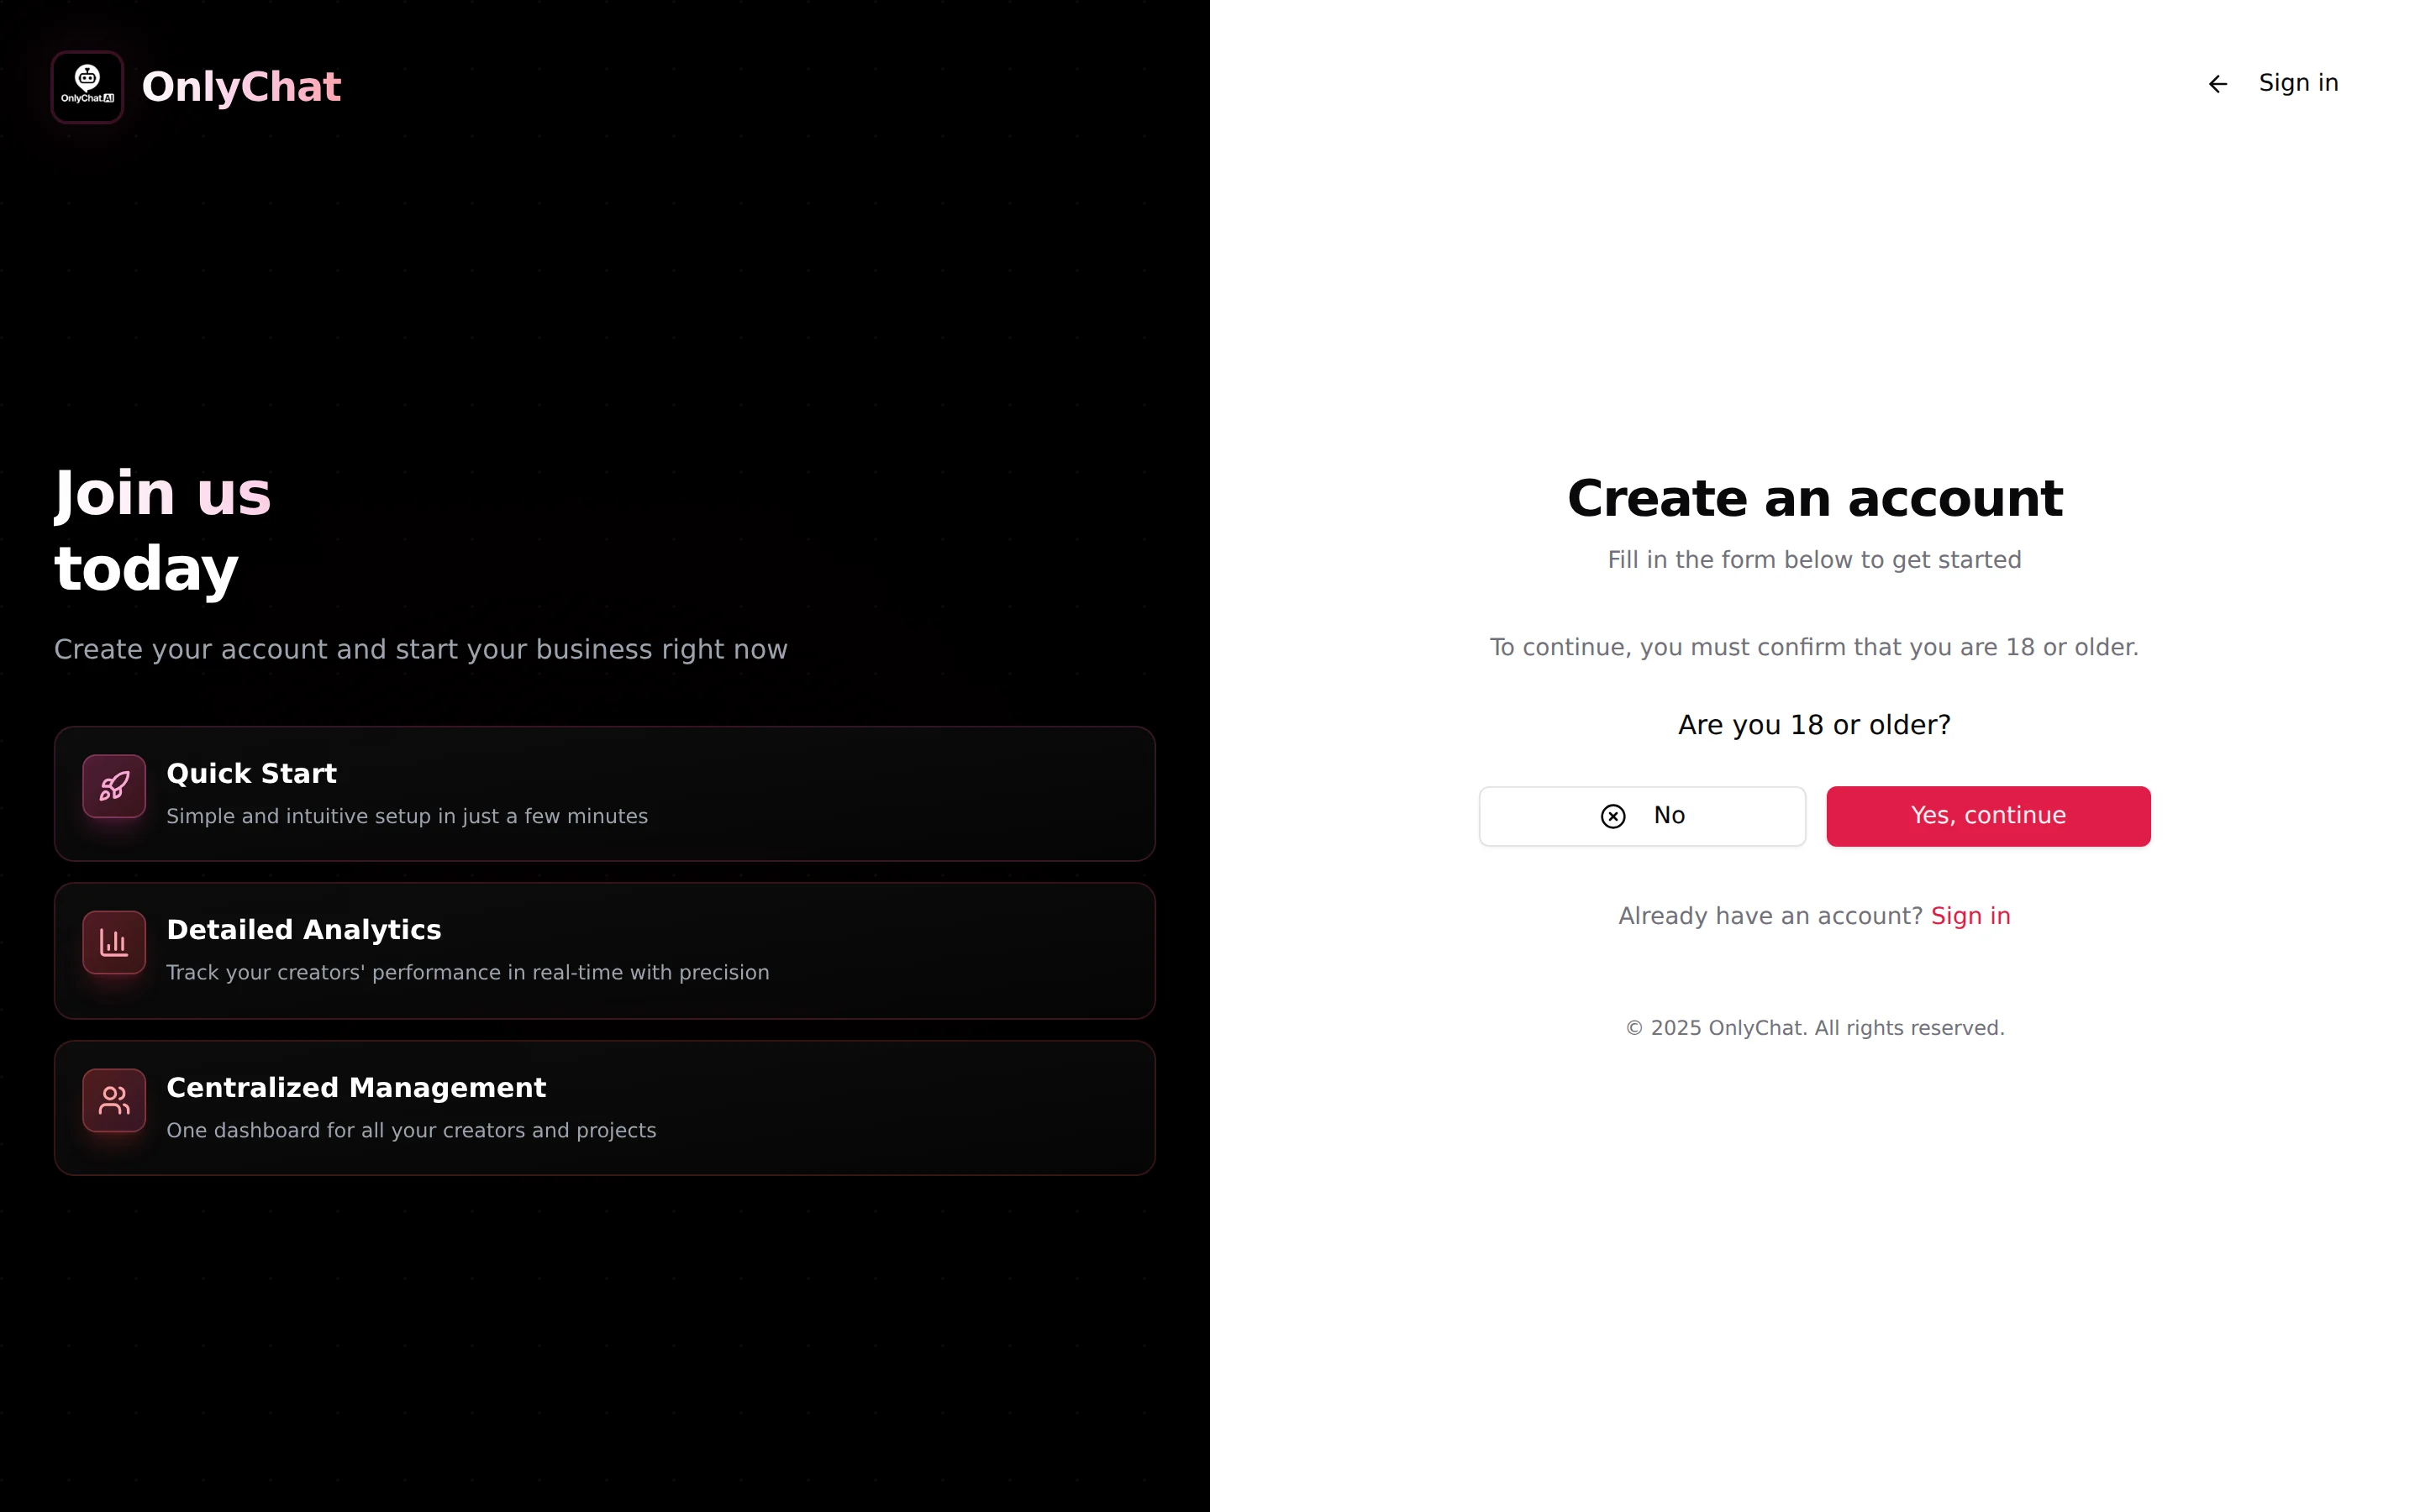
Details: Create an account
Step 2: Put money on your balance
OnlyChat is prepaid. Click Recharge in the sidebar, choose a currency, type the amount, tick the confirmation checkbox and click Create payment. Send the exact amount from your wallet, on the network of the asset you picked.
Result: the status reaches "Payment completed" and the balance in the sidebar goes up.
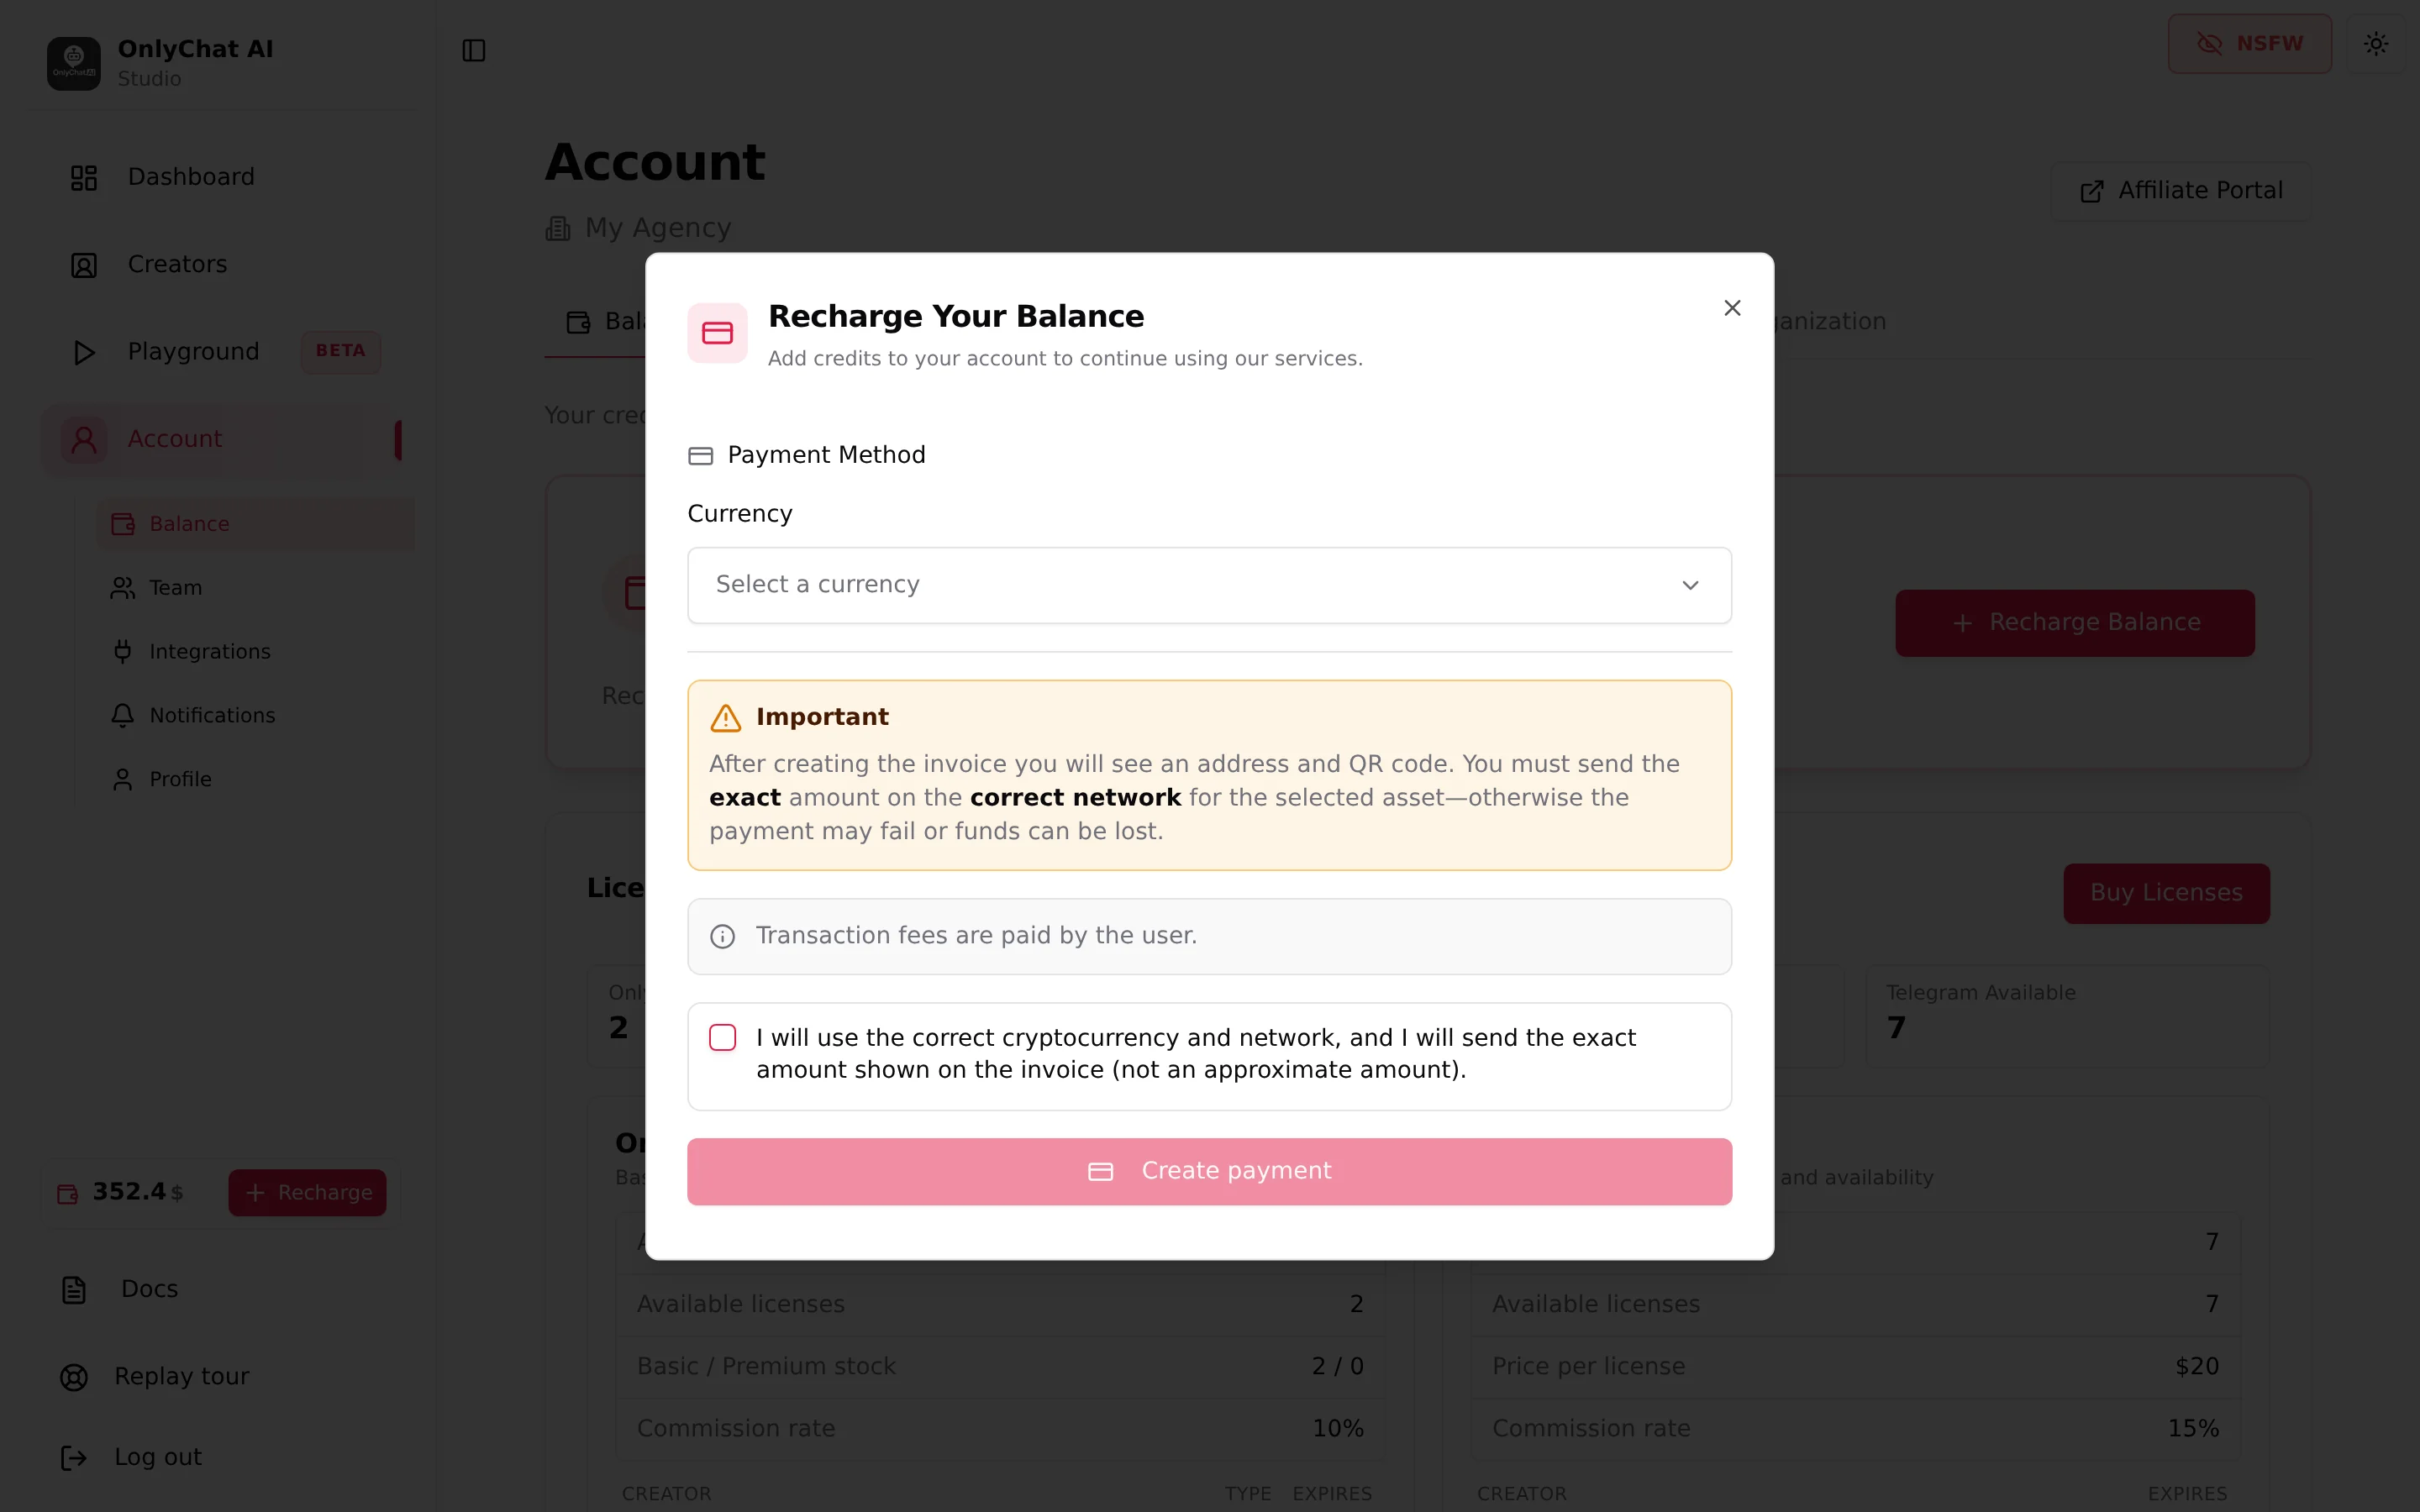
Details: Balance and licenses
Step 3: Buy one OnlyFans license
A license is the monthly right to run the AI on one creator. Open Account, tab Balance & Licenses, click Buy Licenses, pick OnlyFans, then Basic ($20 per month) or Premium ($70 per month), a quantity, and Confirm Purchase.
Result: the OnlyFans Available counter shows at least 1.
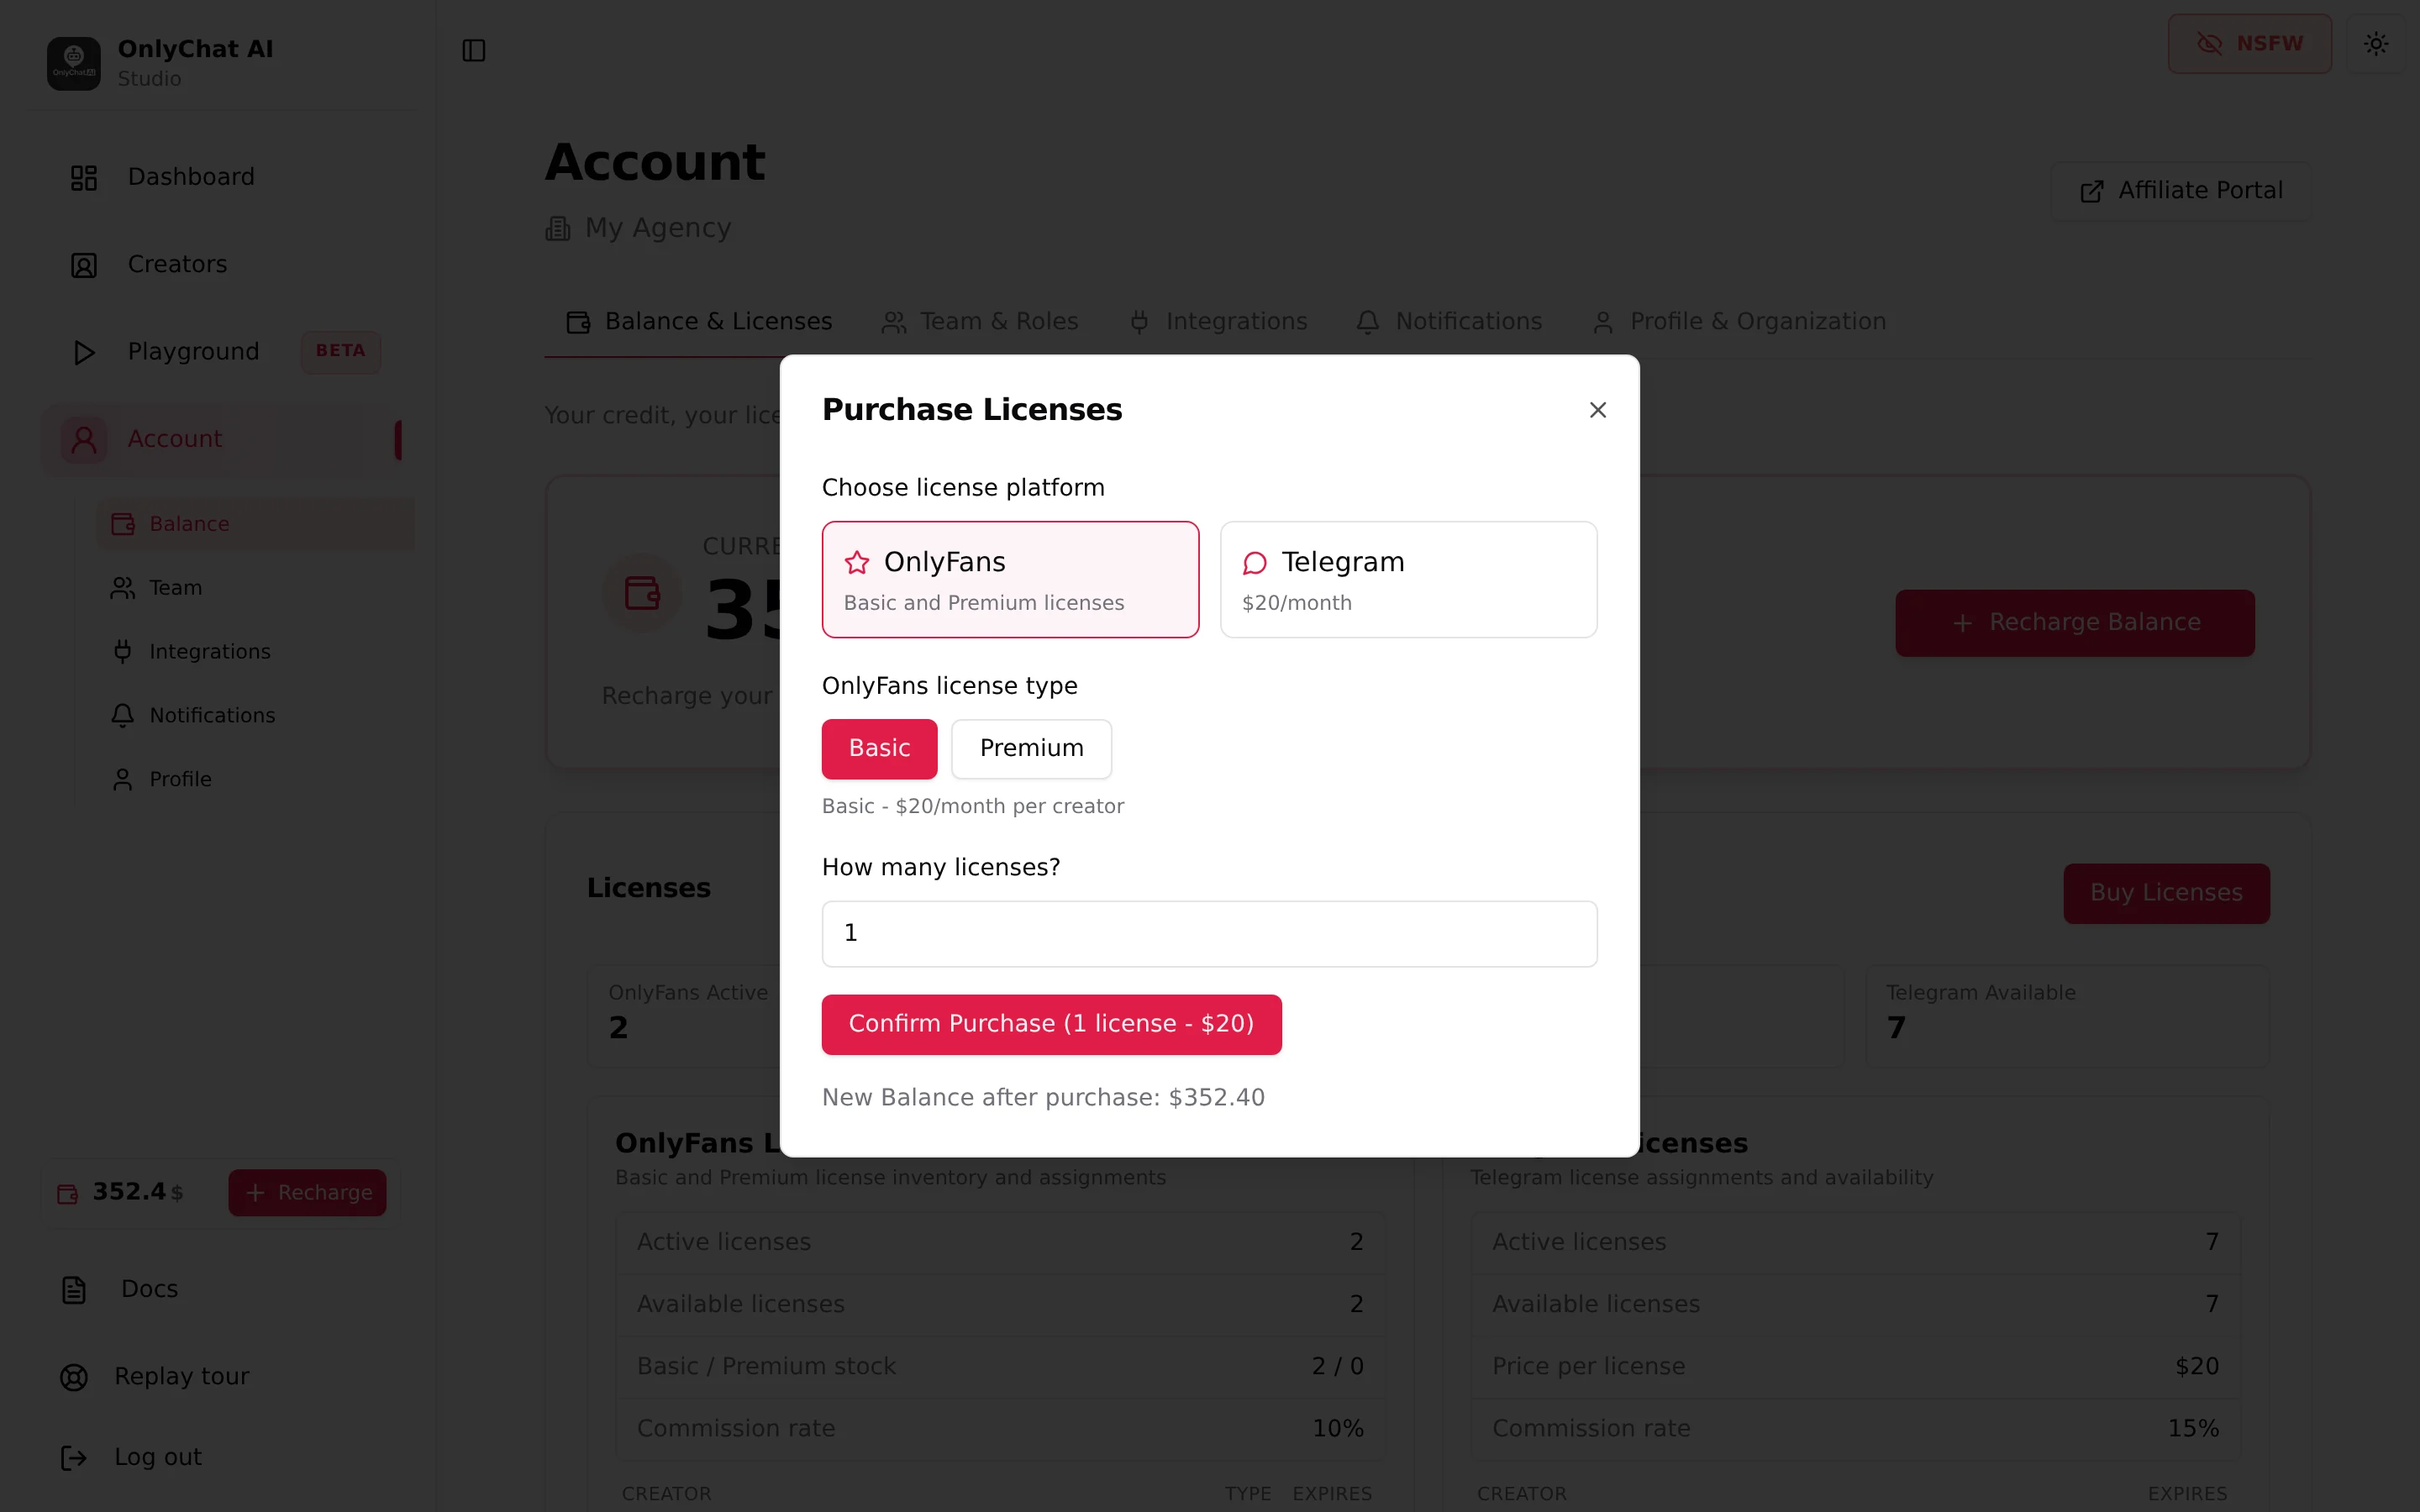
Details: Buy and assign licenses
Step 4: Install the Chrome extension
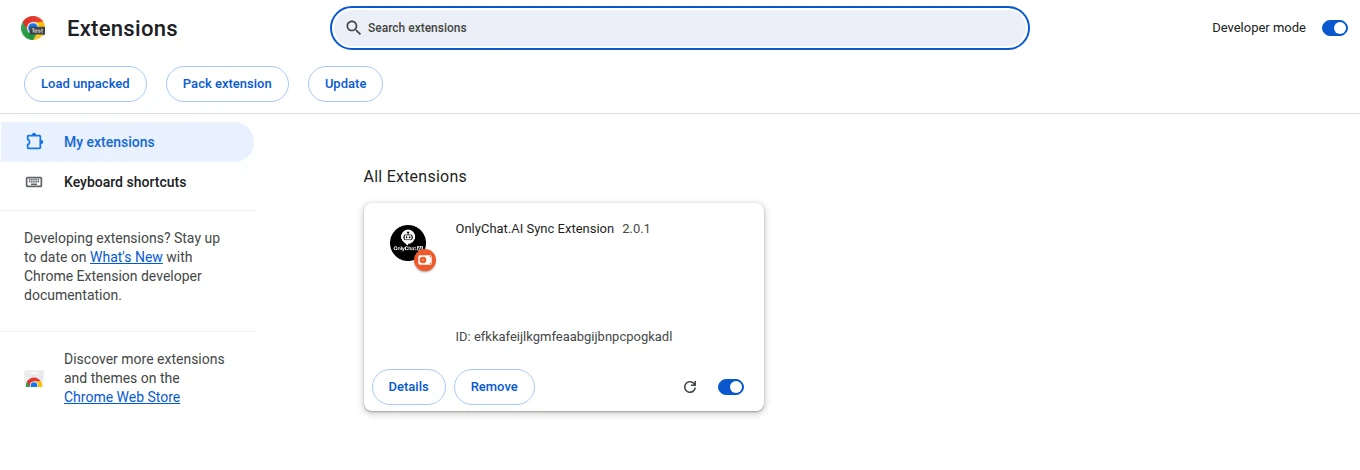
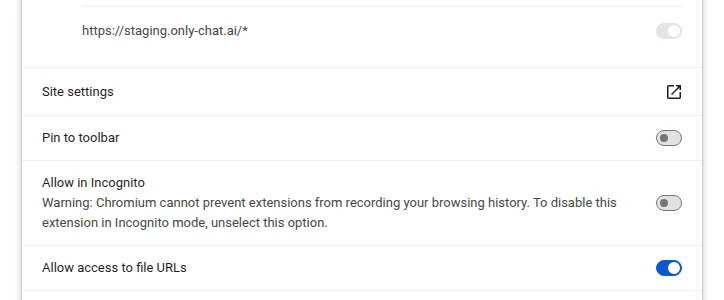
OnlyFans creators are not added from the dashboard. On the Creators board click Add creator, row OnlyFans, then Download extension. Unzip the file into a folder you will keep, open chrome://extensions, turn on Developer mode, click Load unpacked and select that folder. Then open Details on the extension card, enable Allow in Incognito, and pin the icon from the puzzle menu.
Result: the OnlyChat icon is visible in the Chrome toolbar and works in an Incognito window.
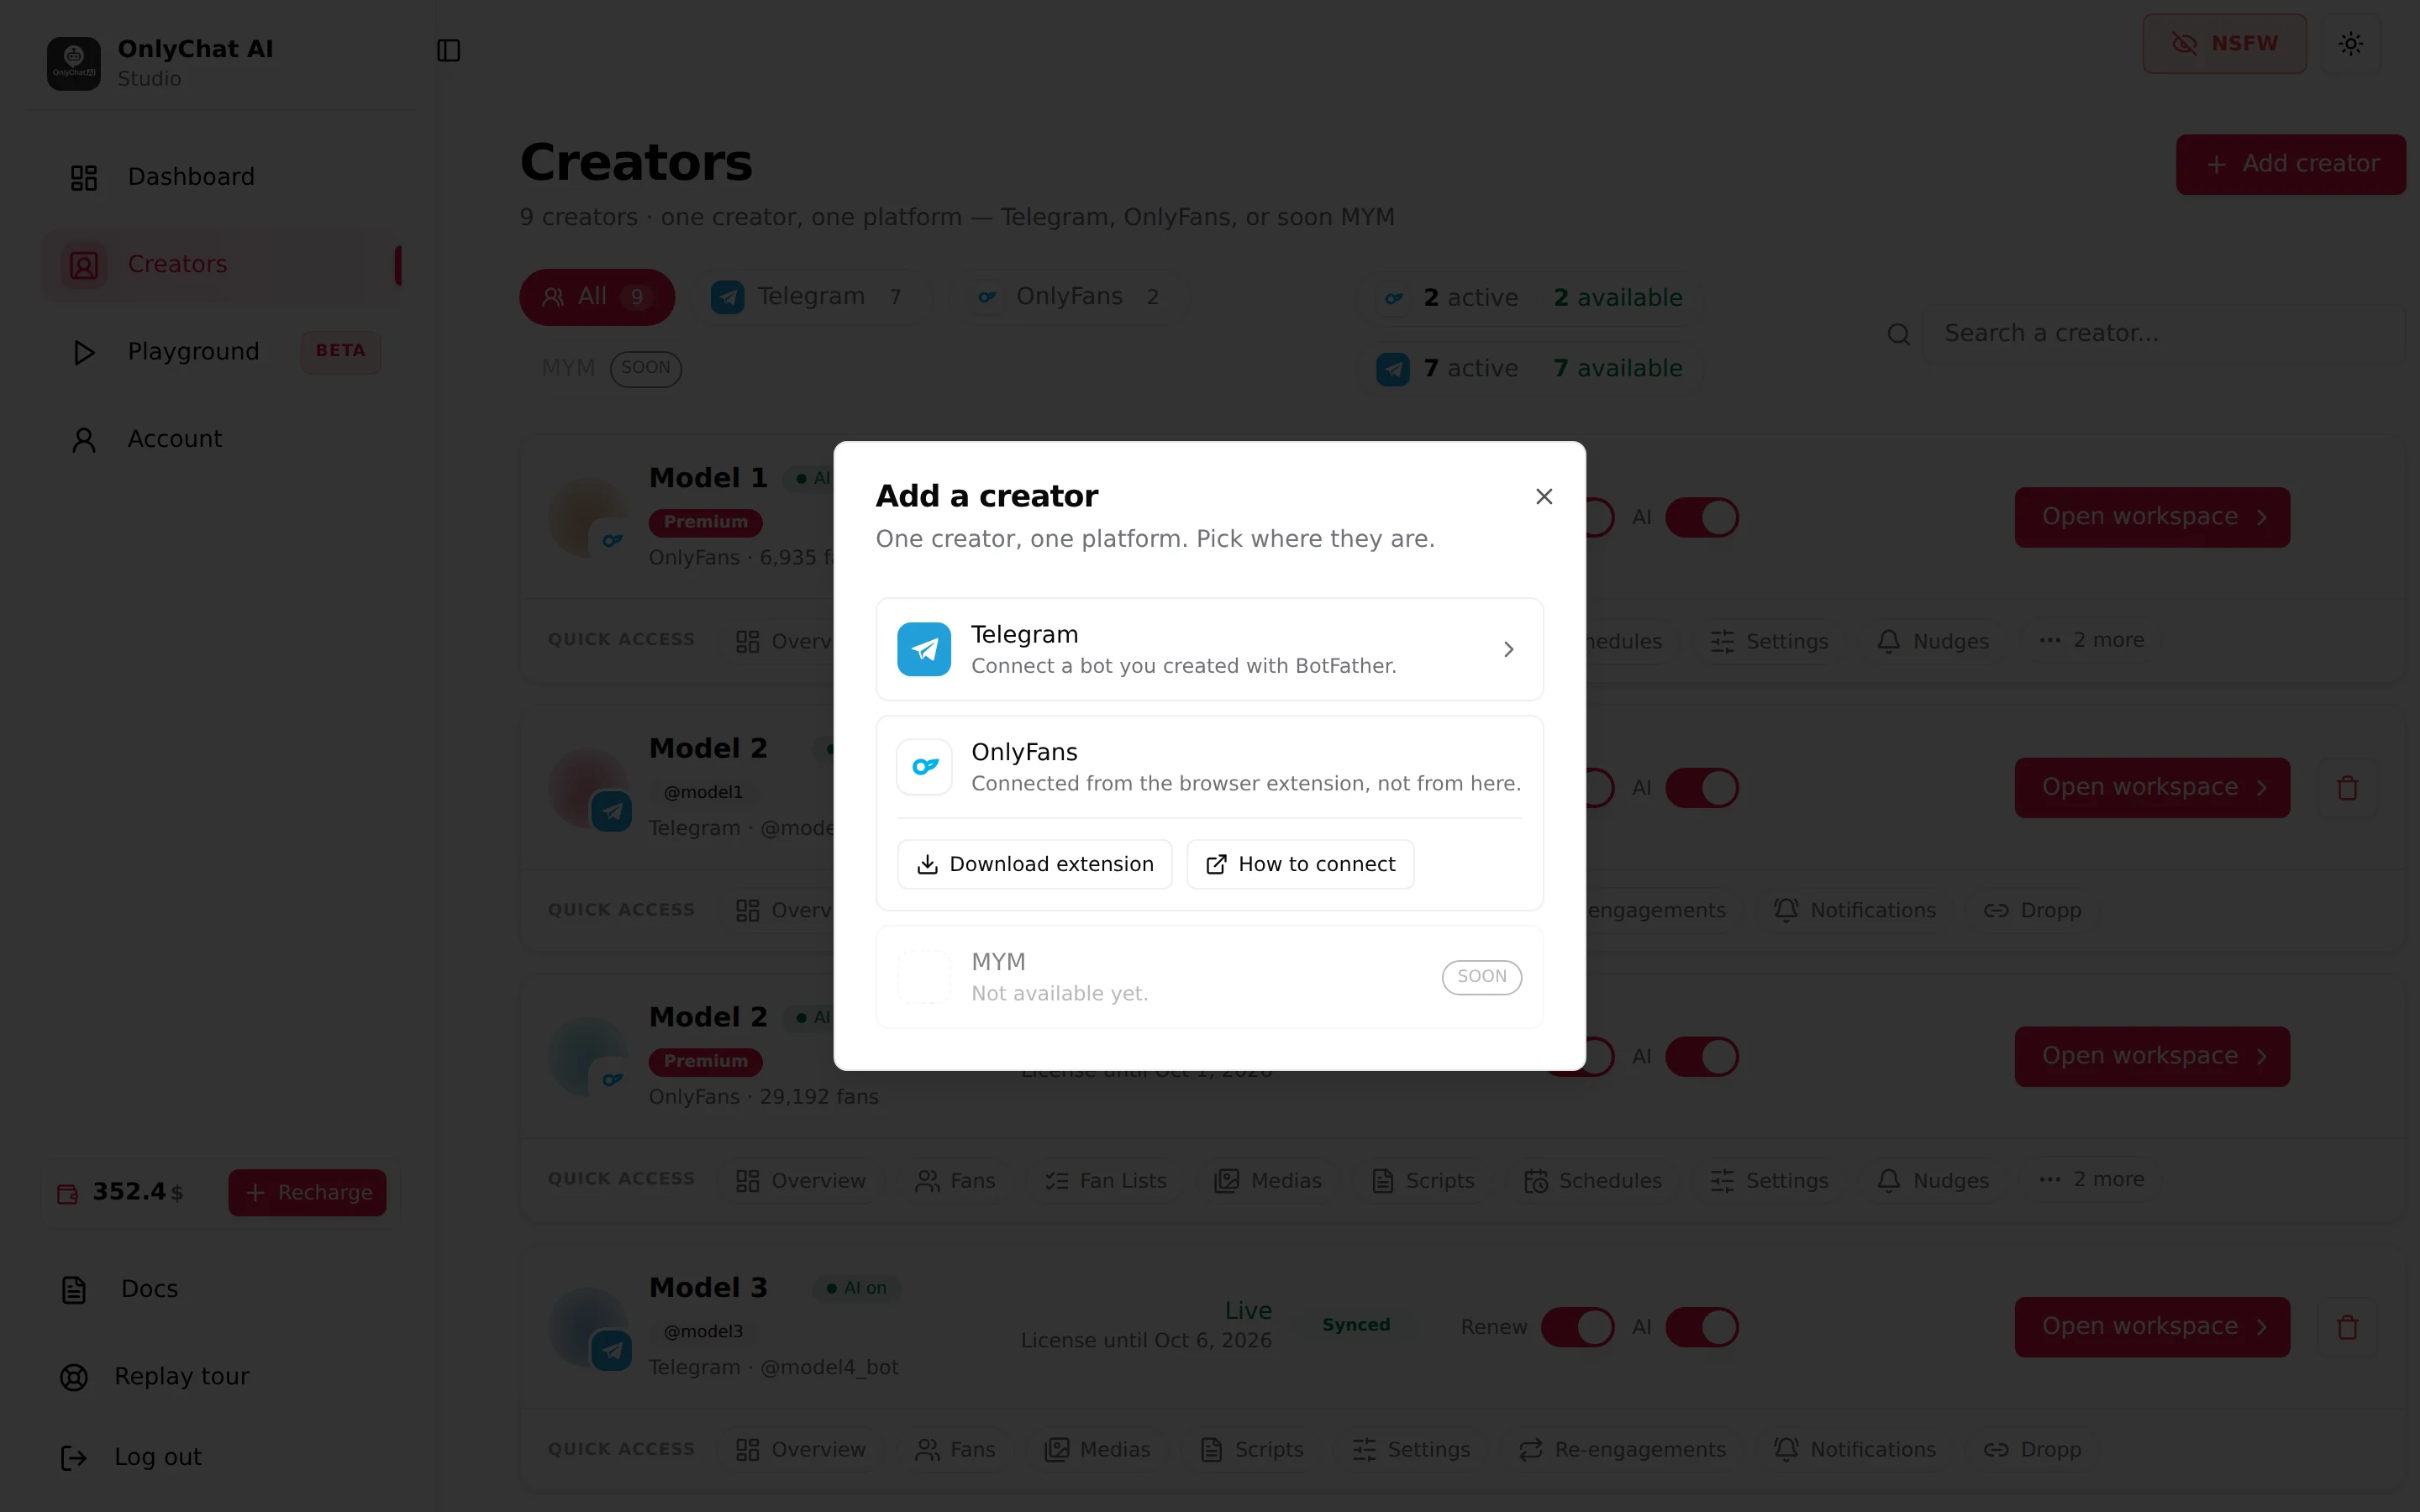
Details: Install the extension
Step 5: Connect the creator
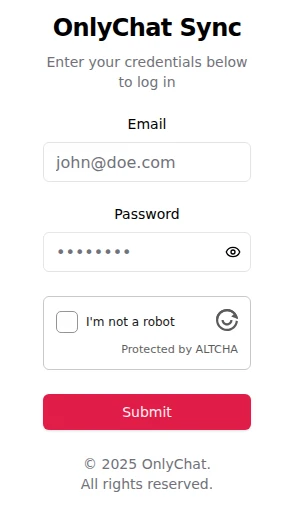
Open a new Incognito window, go to onlyfans.com and log in as the creator. Click the OnlyChat icon, sign in with your OnlyChat email and password, then click Sync. Close the Incognito window when it is done.
Result: a card appears on the Creators board with the Synced badge, the line "OnlyFans, handle, N fans" and the status "No active license".

Details: Connect a creator
Step 6: Assign the license
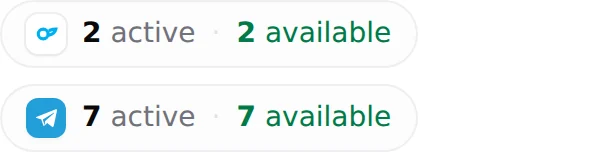
On the card, click Assign License. The modal "Assign License to [name]" asks "Select which type of license to assign:" with "Basic (N available)" or "Premium (N available)". Click Confirm.
Result: the status becomes "Ready to launch" with the hint "Flip the AI toggle to go live", and the Renew switch appears. Leave Renew on.
Details: Licenses for OnlyFans
Step 7: Sync the media from the vault and describe every file
Open the Medias tab, click Sync Media, tick the vault lists you actually sell, then Sync lists. Open each list and write a description on every item with the pencil: the place, the outfit or its absence, the action, the mood.
Result: every row you plan to sell shows a check mark in the Ready for AI column.
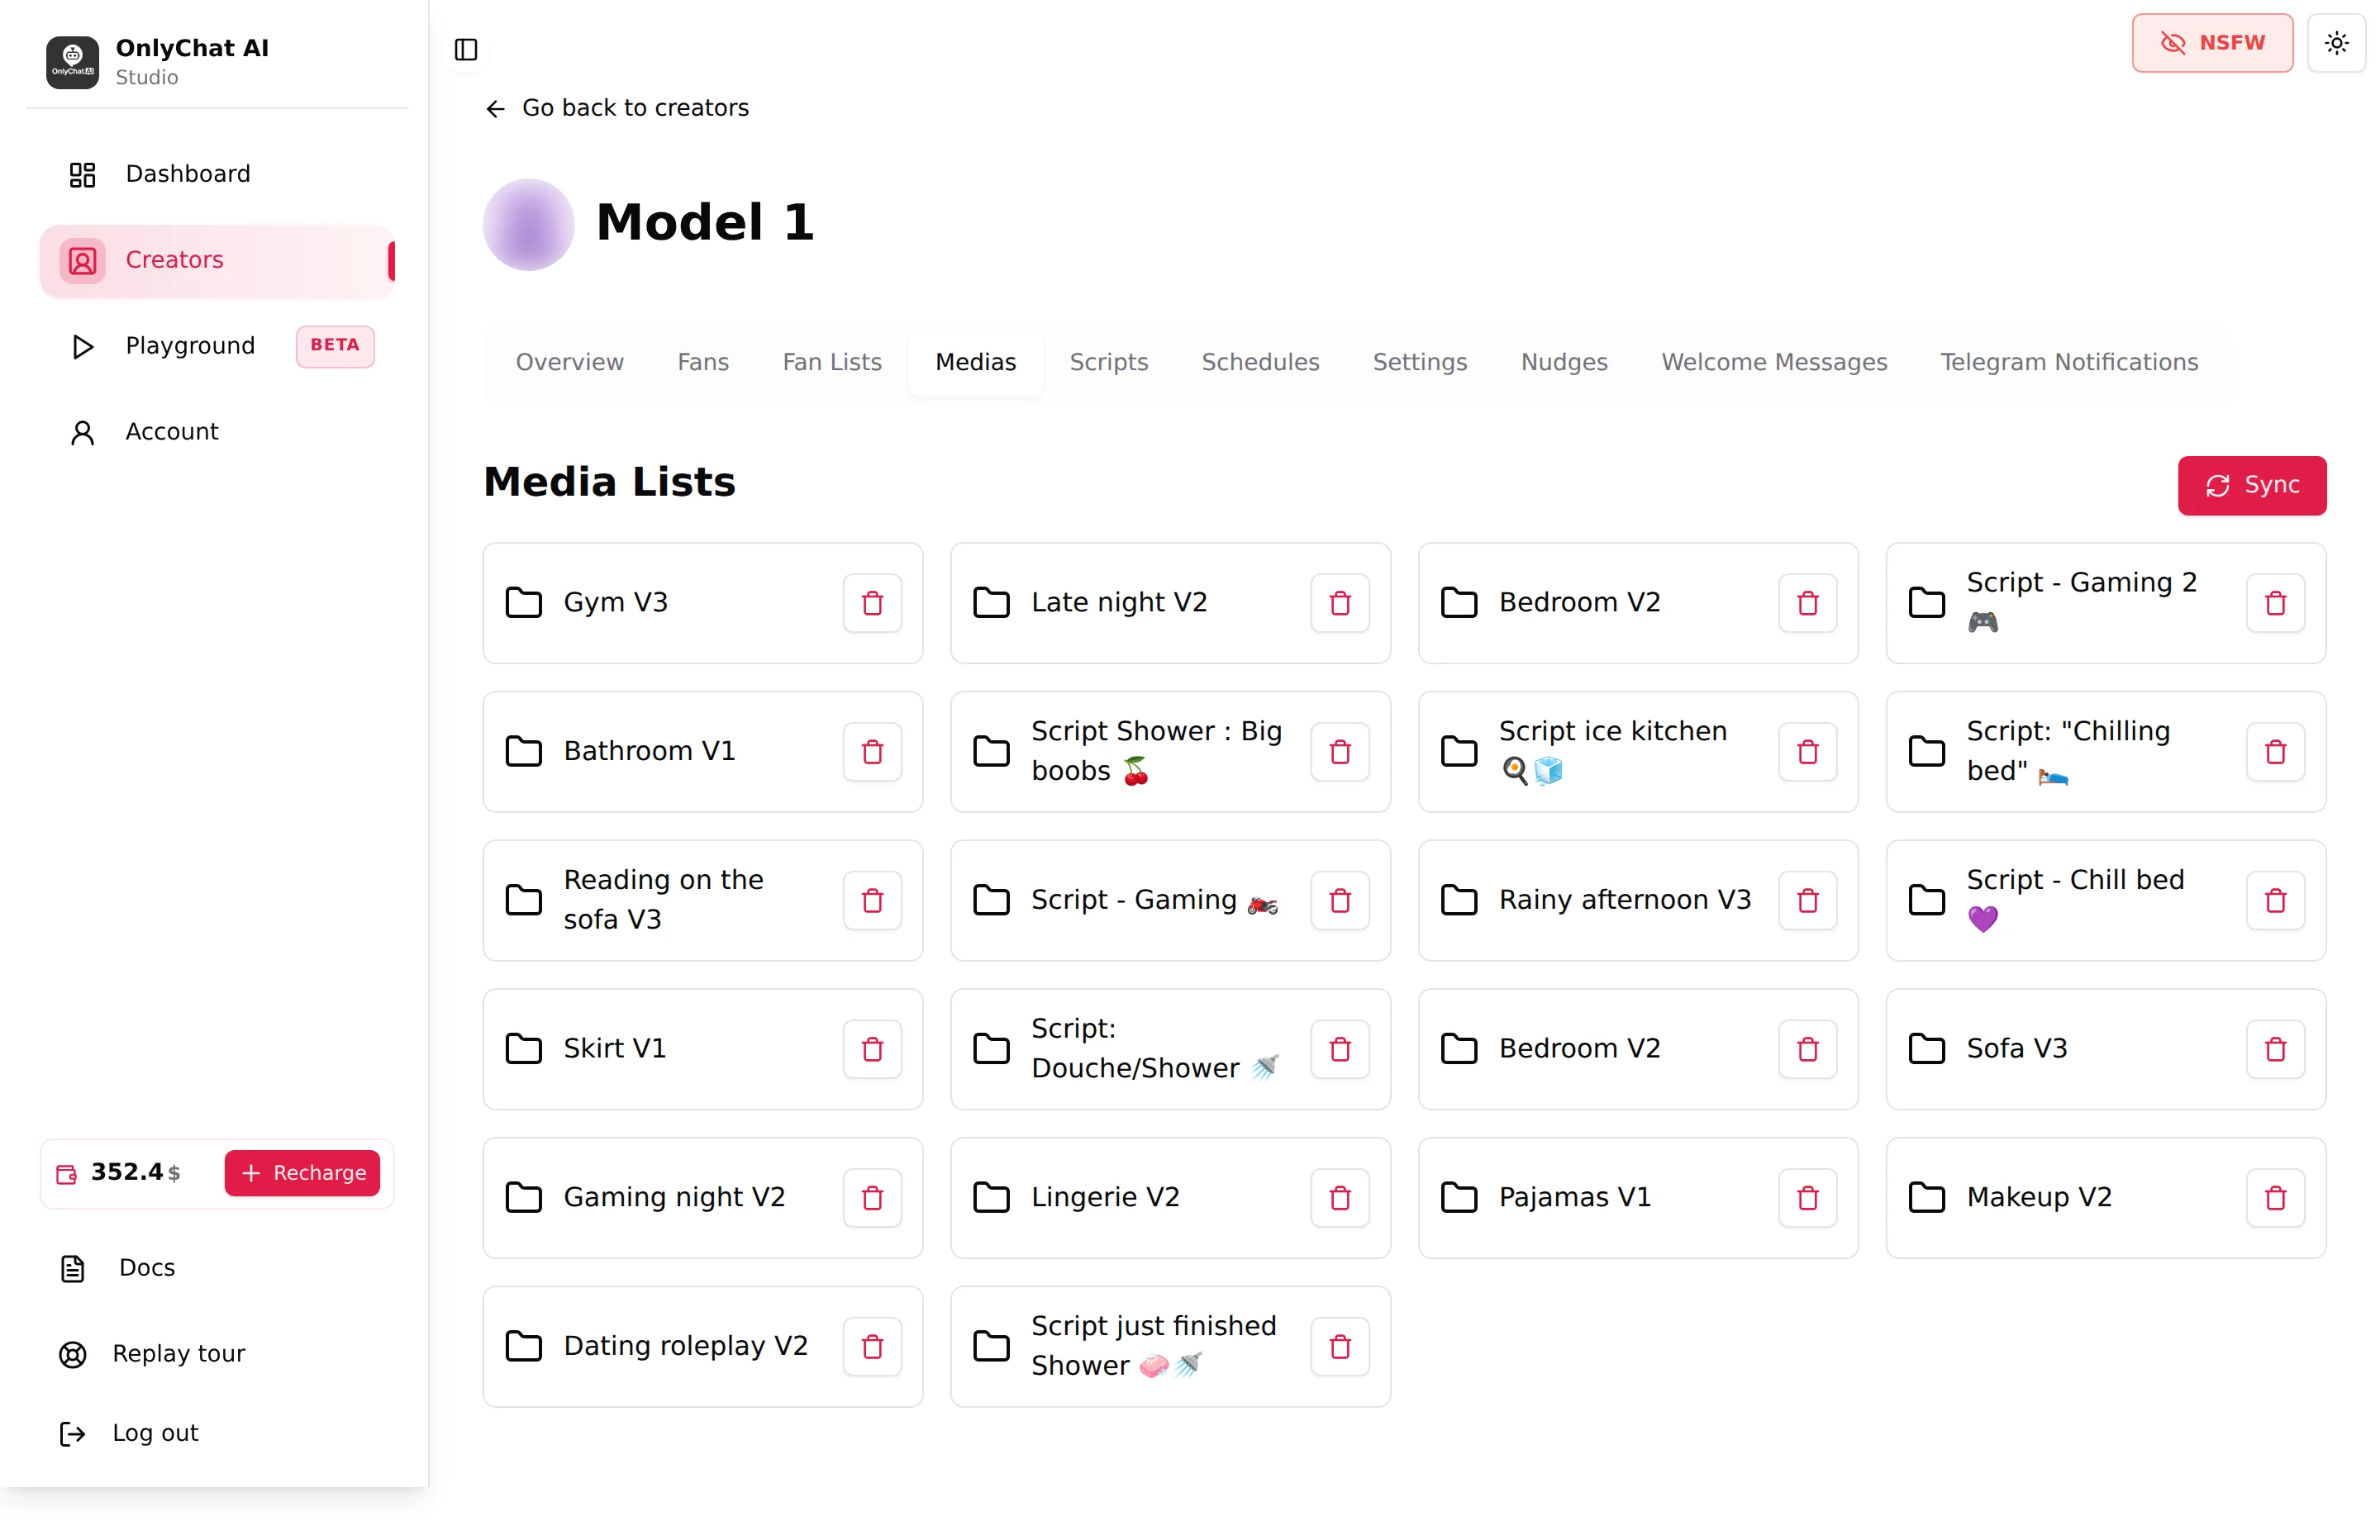
Details: Media library (OnlyFans)
Step 8: Choose which fans the AI may answer
Click Open workspace, then the Fan Lists tab, then Import fan lists. Put at least one list in Active lists. Put the list of fans you want to handle yourself in Excluded lists.
Result: the summary next to the title reads at least "1 active". The rule printed on the tab: "The AI replies only to fans in at least one Active list and in no Excluded list, exclusion always wins."
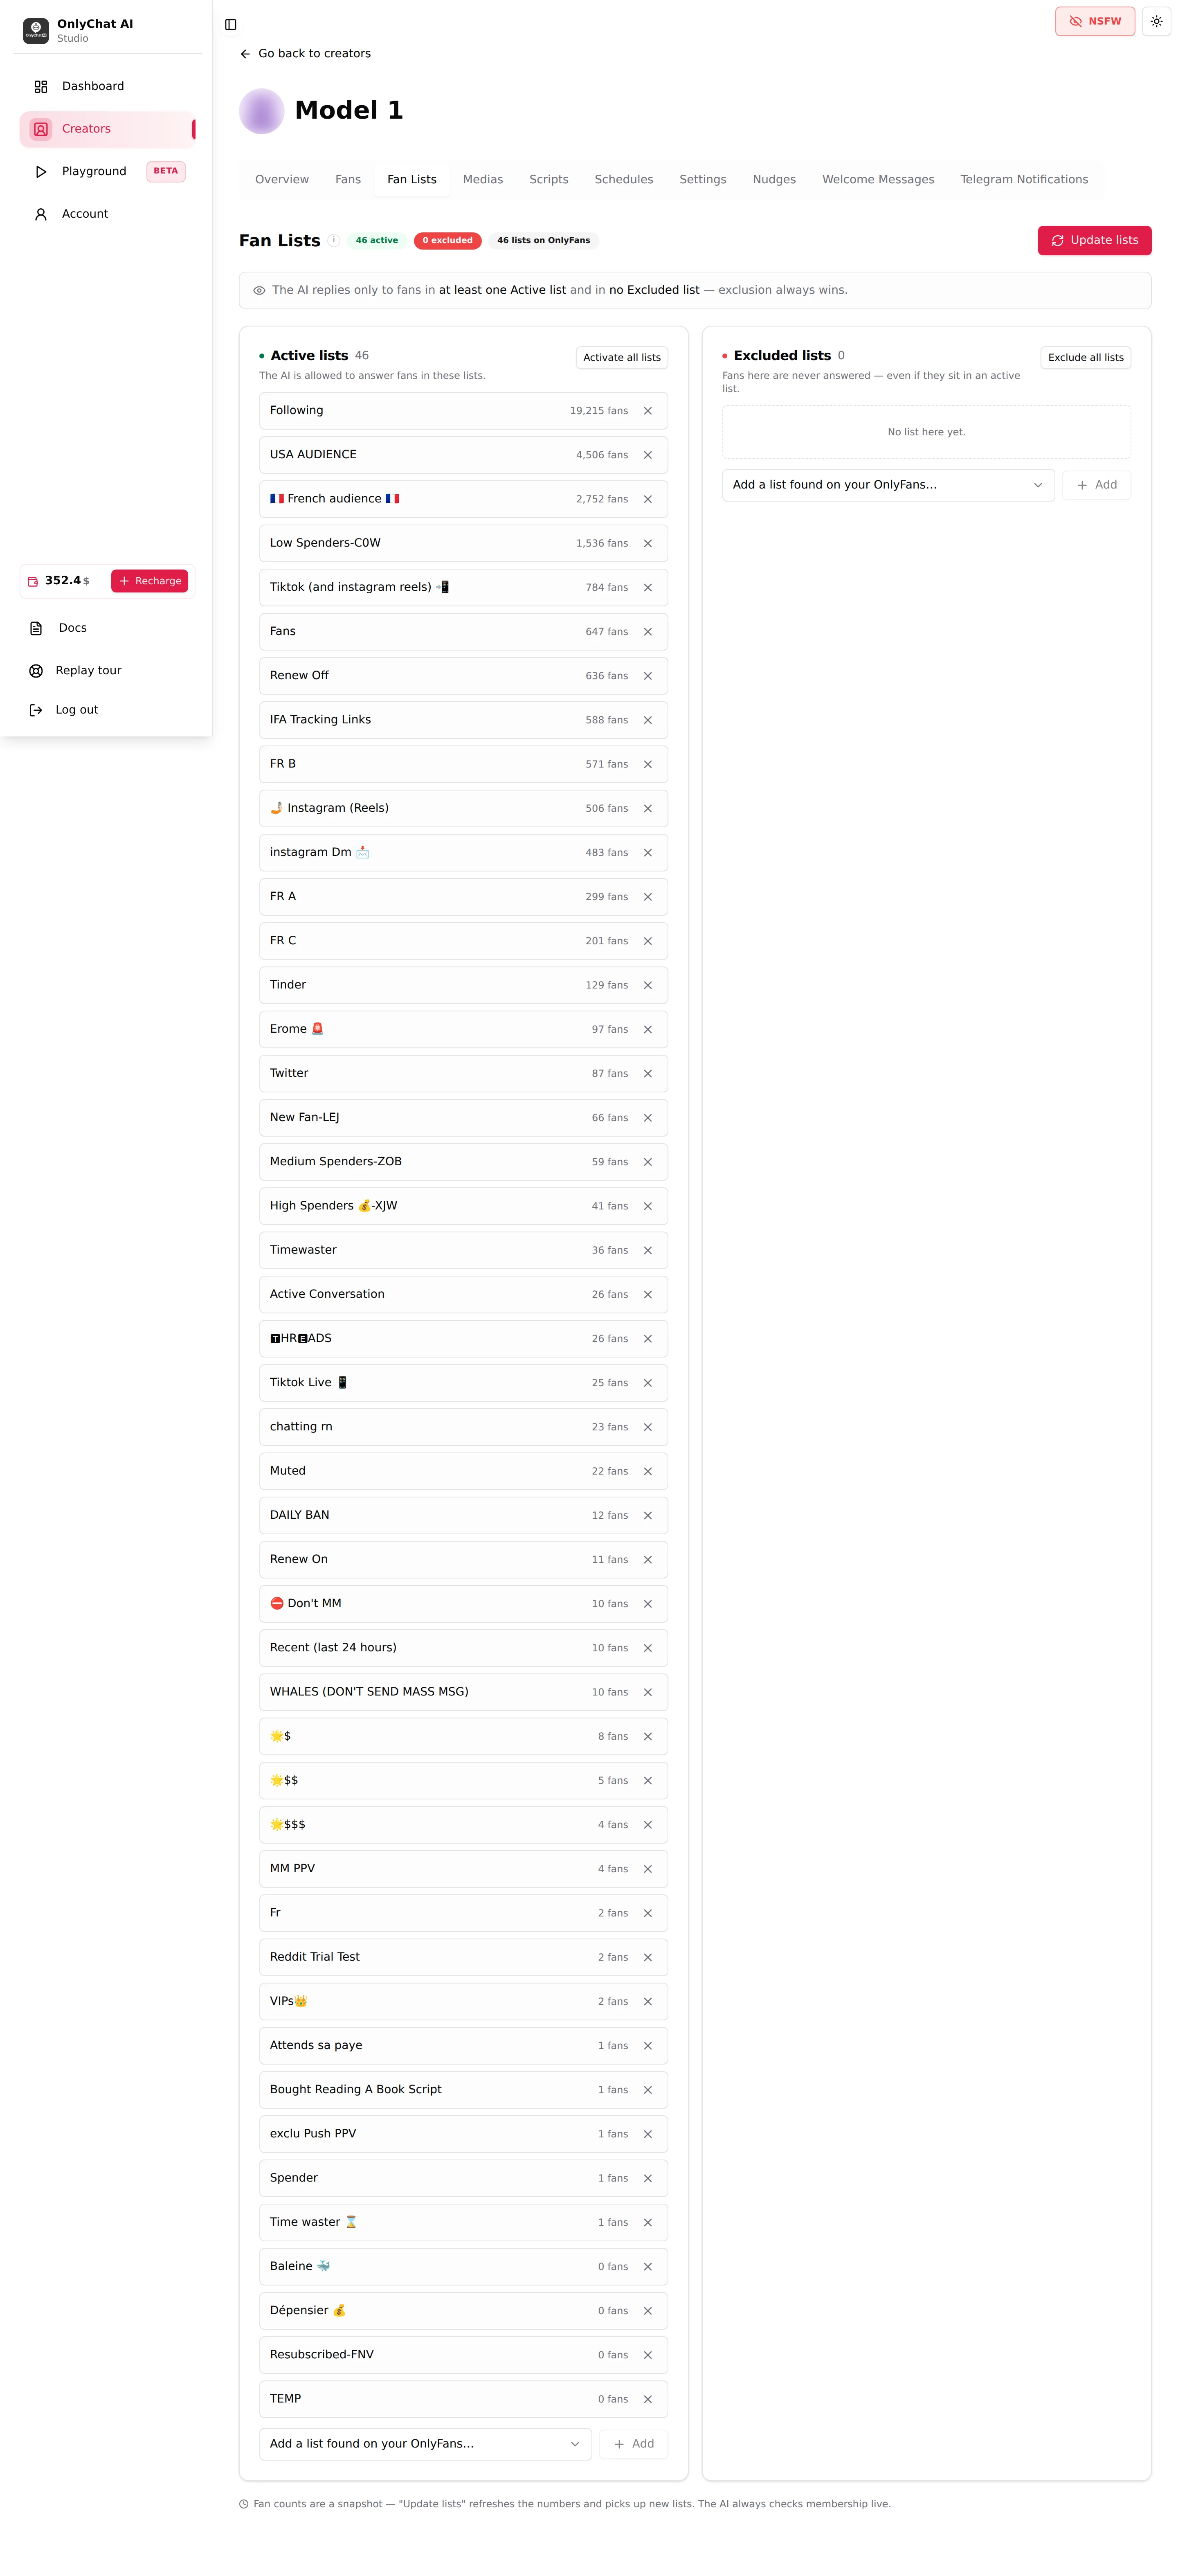
Details: Fan lists
Step 9: Fill the persona
Open the Settings tab, sub-tab Details, and fill everything: first name, age, date of birth, gender, ethnicity, timezone, then appearance, bra size, languages, hobbies and personality traits. Move to the Add infos sub-tab and write her backstory, her limits and how she reacts to a fan who will not pay in Additional info. Click Submit at the bottom.
Result: the toast "Creator info updated!" appears. An empty field is not neutral: the AI improvises and the answers drift.
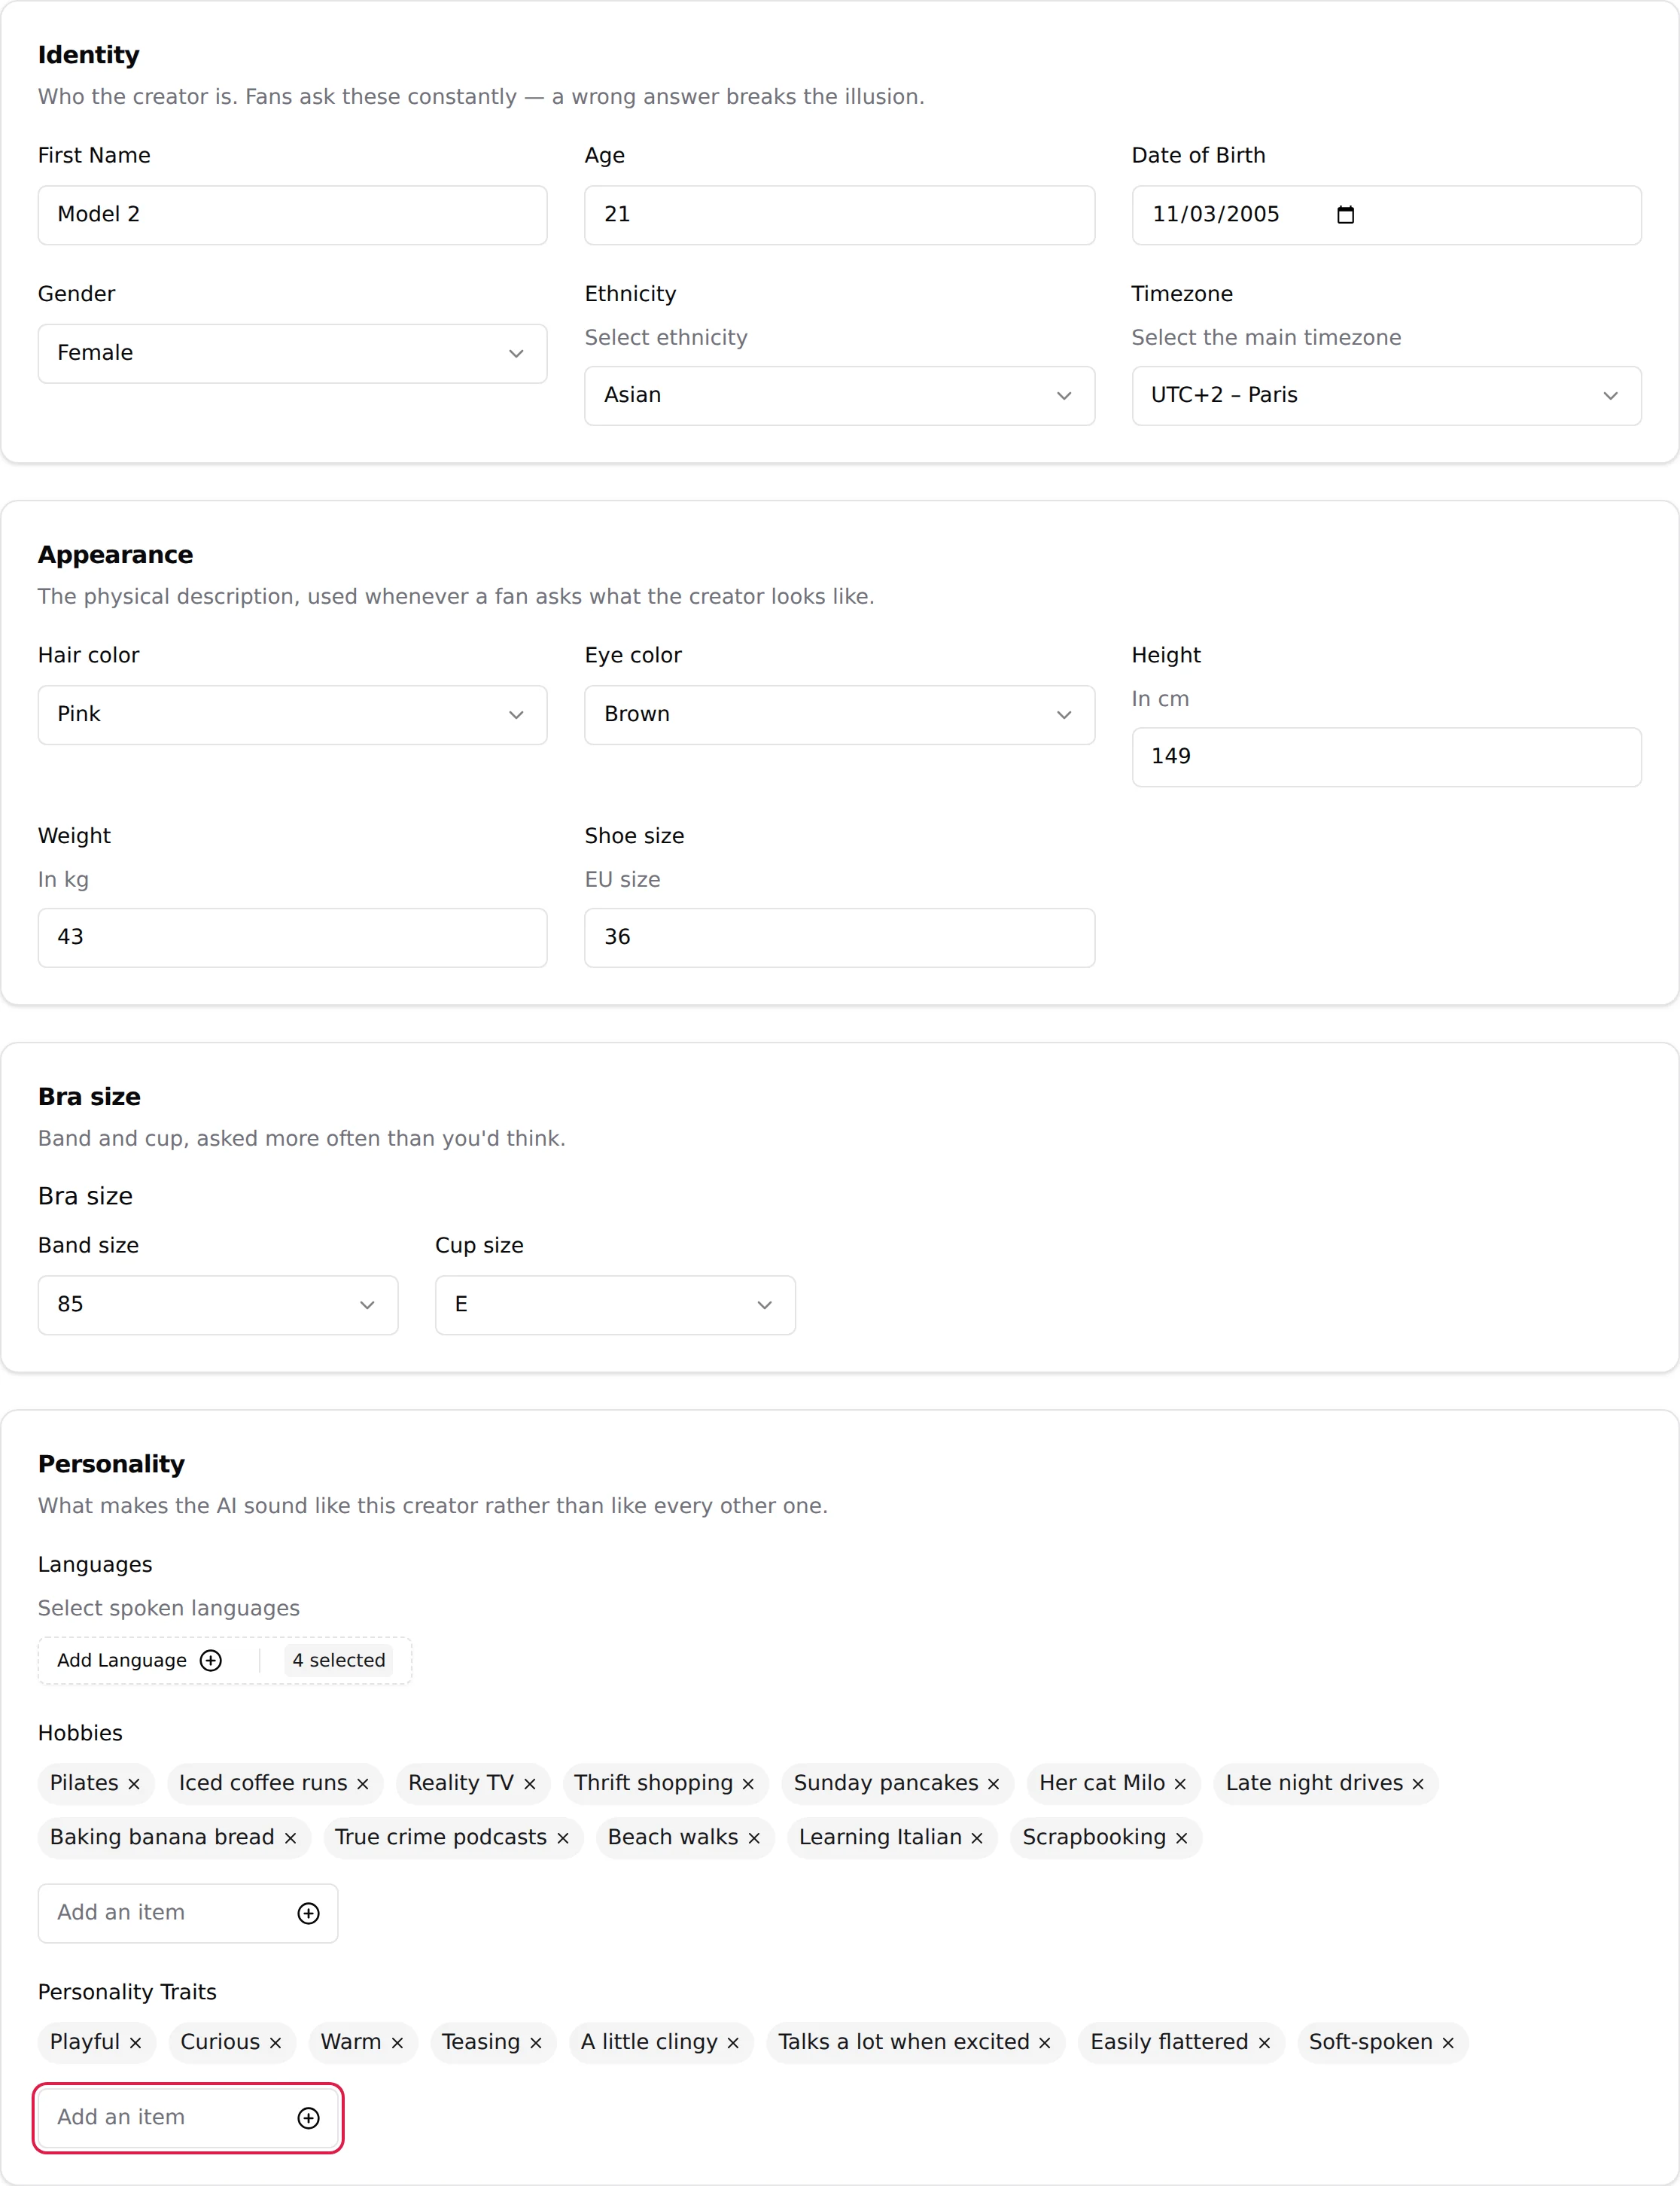
Details: Identity and appearance
Step 10: Create at least two scripts
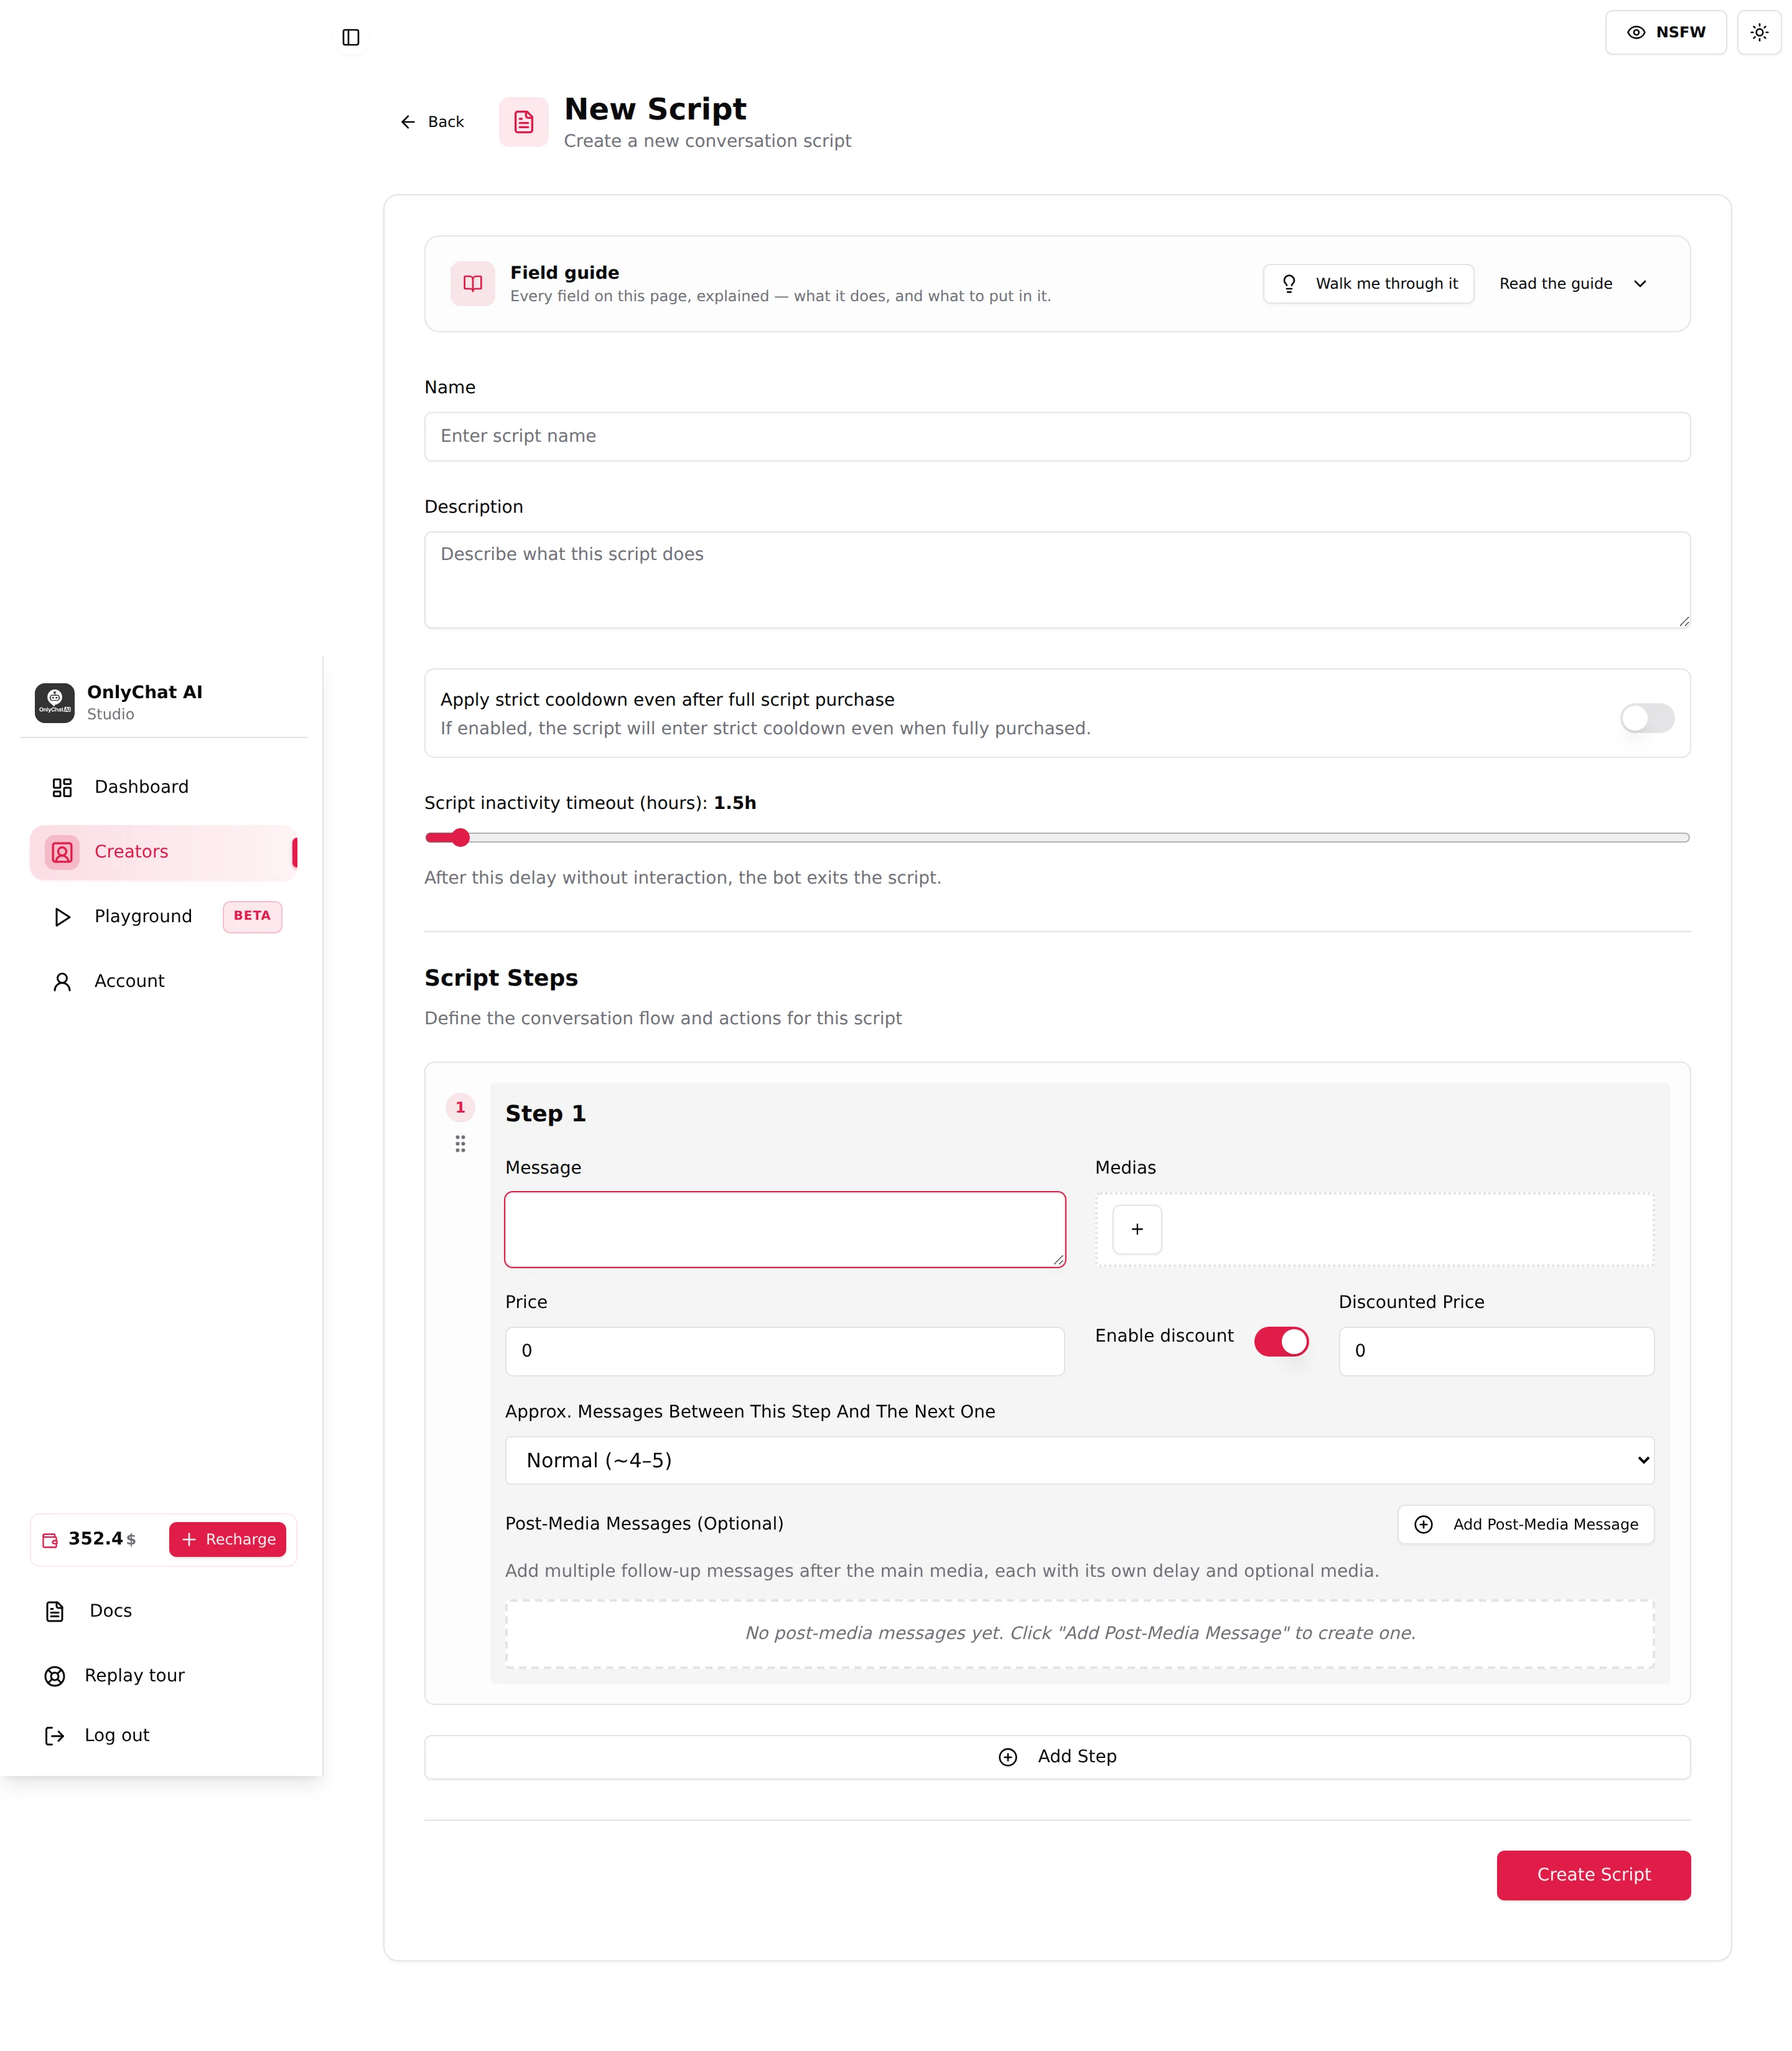
Open the Scripts tab and click Add Script. Fill Name and Description (the AI reads the description to decide when the scene fits), then build the steps: two or three free steps with Price 0 and one media each, then the paid steps with their price, plus Enable discount and a Discounted Price where you want a fallback. Click Create Script, then flip the Active switch on its row. Repeat once, because the AI refuses to start below two active scripts.
Result: two rows with Active on. The AI picks the script itself; the First star is optional and not needed here.
Details: Create a script
Step 11: Set the behaviour that matters on day one
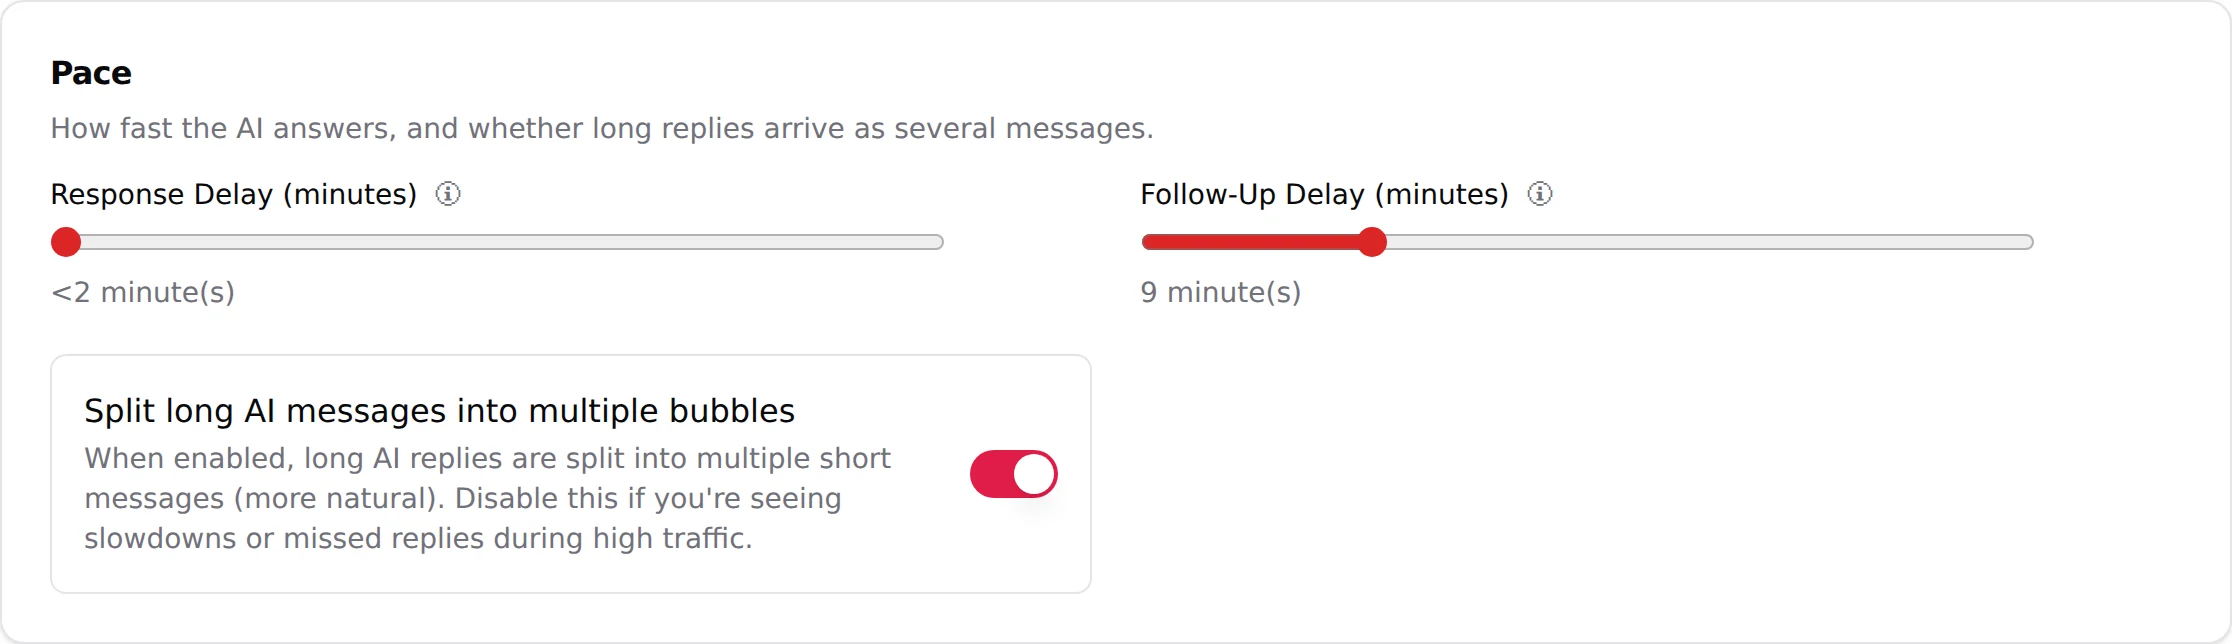
Settings, Behavior: keep Response Delay at 1 minute, Follow-Up Delay at 8 minutes and Split long AI messages into multiple bubbles on. Keep the cooldown defaults, Minimum Sexualization Cooldown 2 days and Strict Script Cooldown 10 hours. Settings, Strategies: Language Casual, Launch script Normal, Negotiation Default. Click Submit.
Result: the AI answers fast, follows up once, and defends its prices without discounting on the first refusal. The Schedules tab stays untouched unless the AI must stop at night.
Details: Behavior and timing
Step 12: Turn the AI on
Go back to the Creators board and flip the AI switch on the card, or open the workspace and use Enable AI in the header.
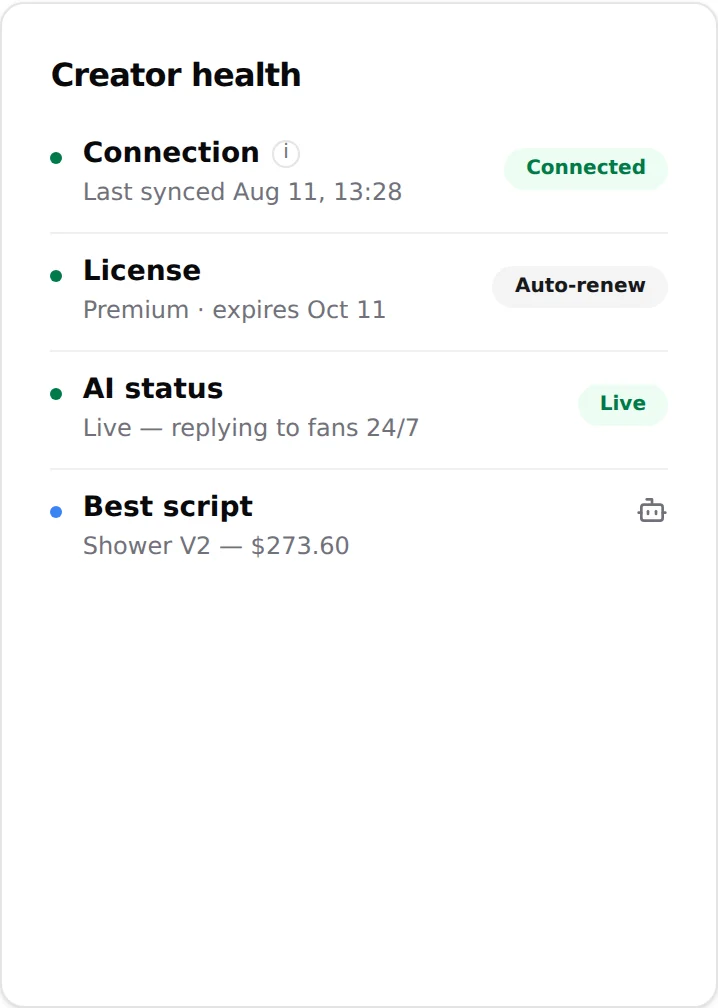
Result: the badge becomes "AI on" and the status becomes "Live". If a dialog opens instead, the switch stays off and names the missing piece: Insufficient Balance, Not Enough Scripts, No Active License.
Details: Turn the AI on
Step 13: Check the first reply
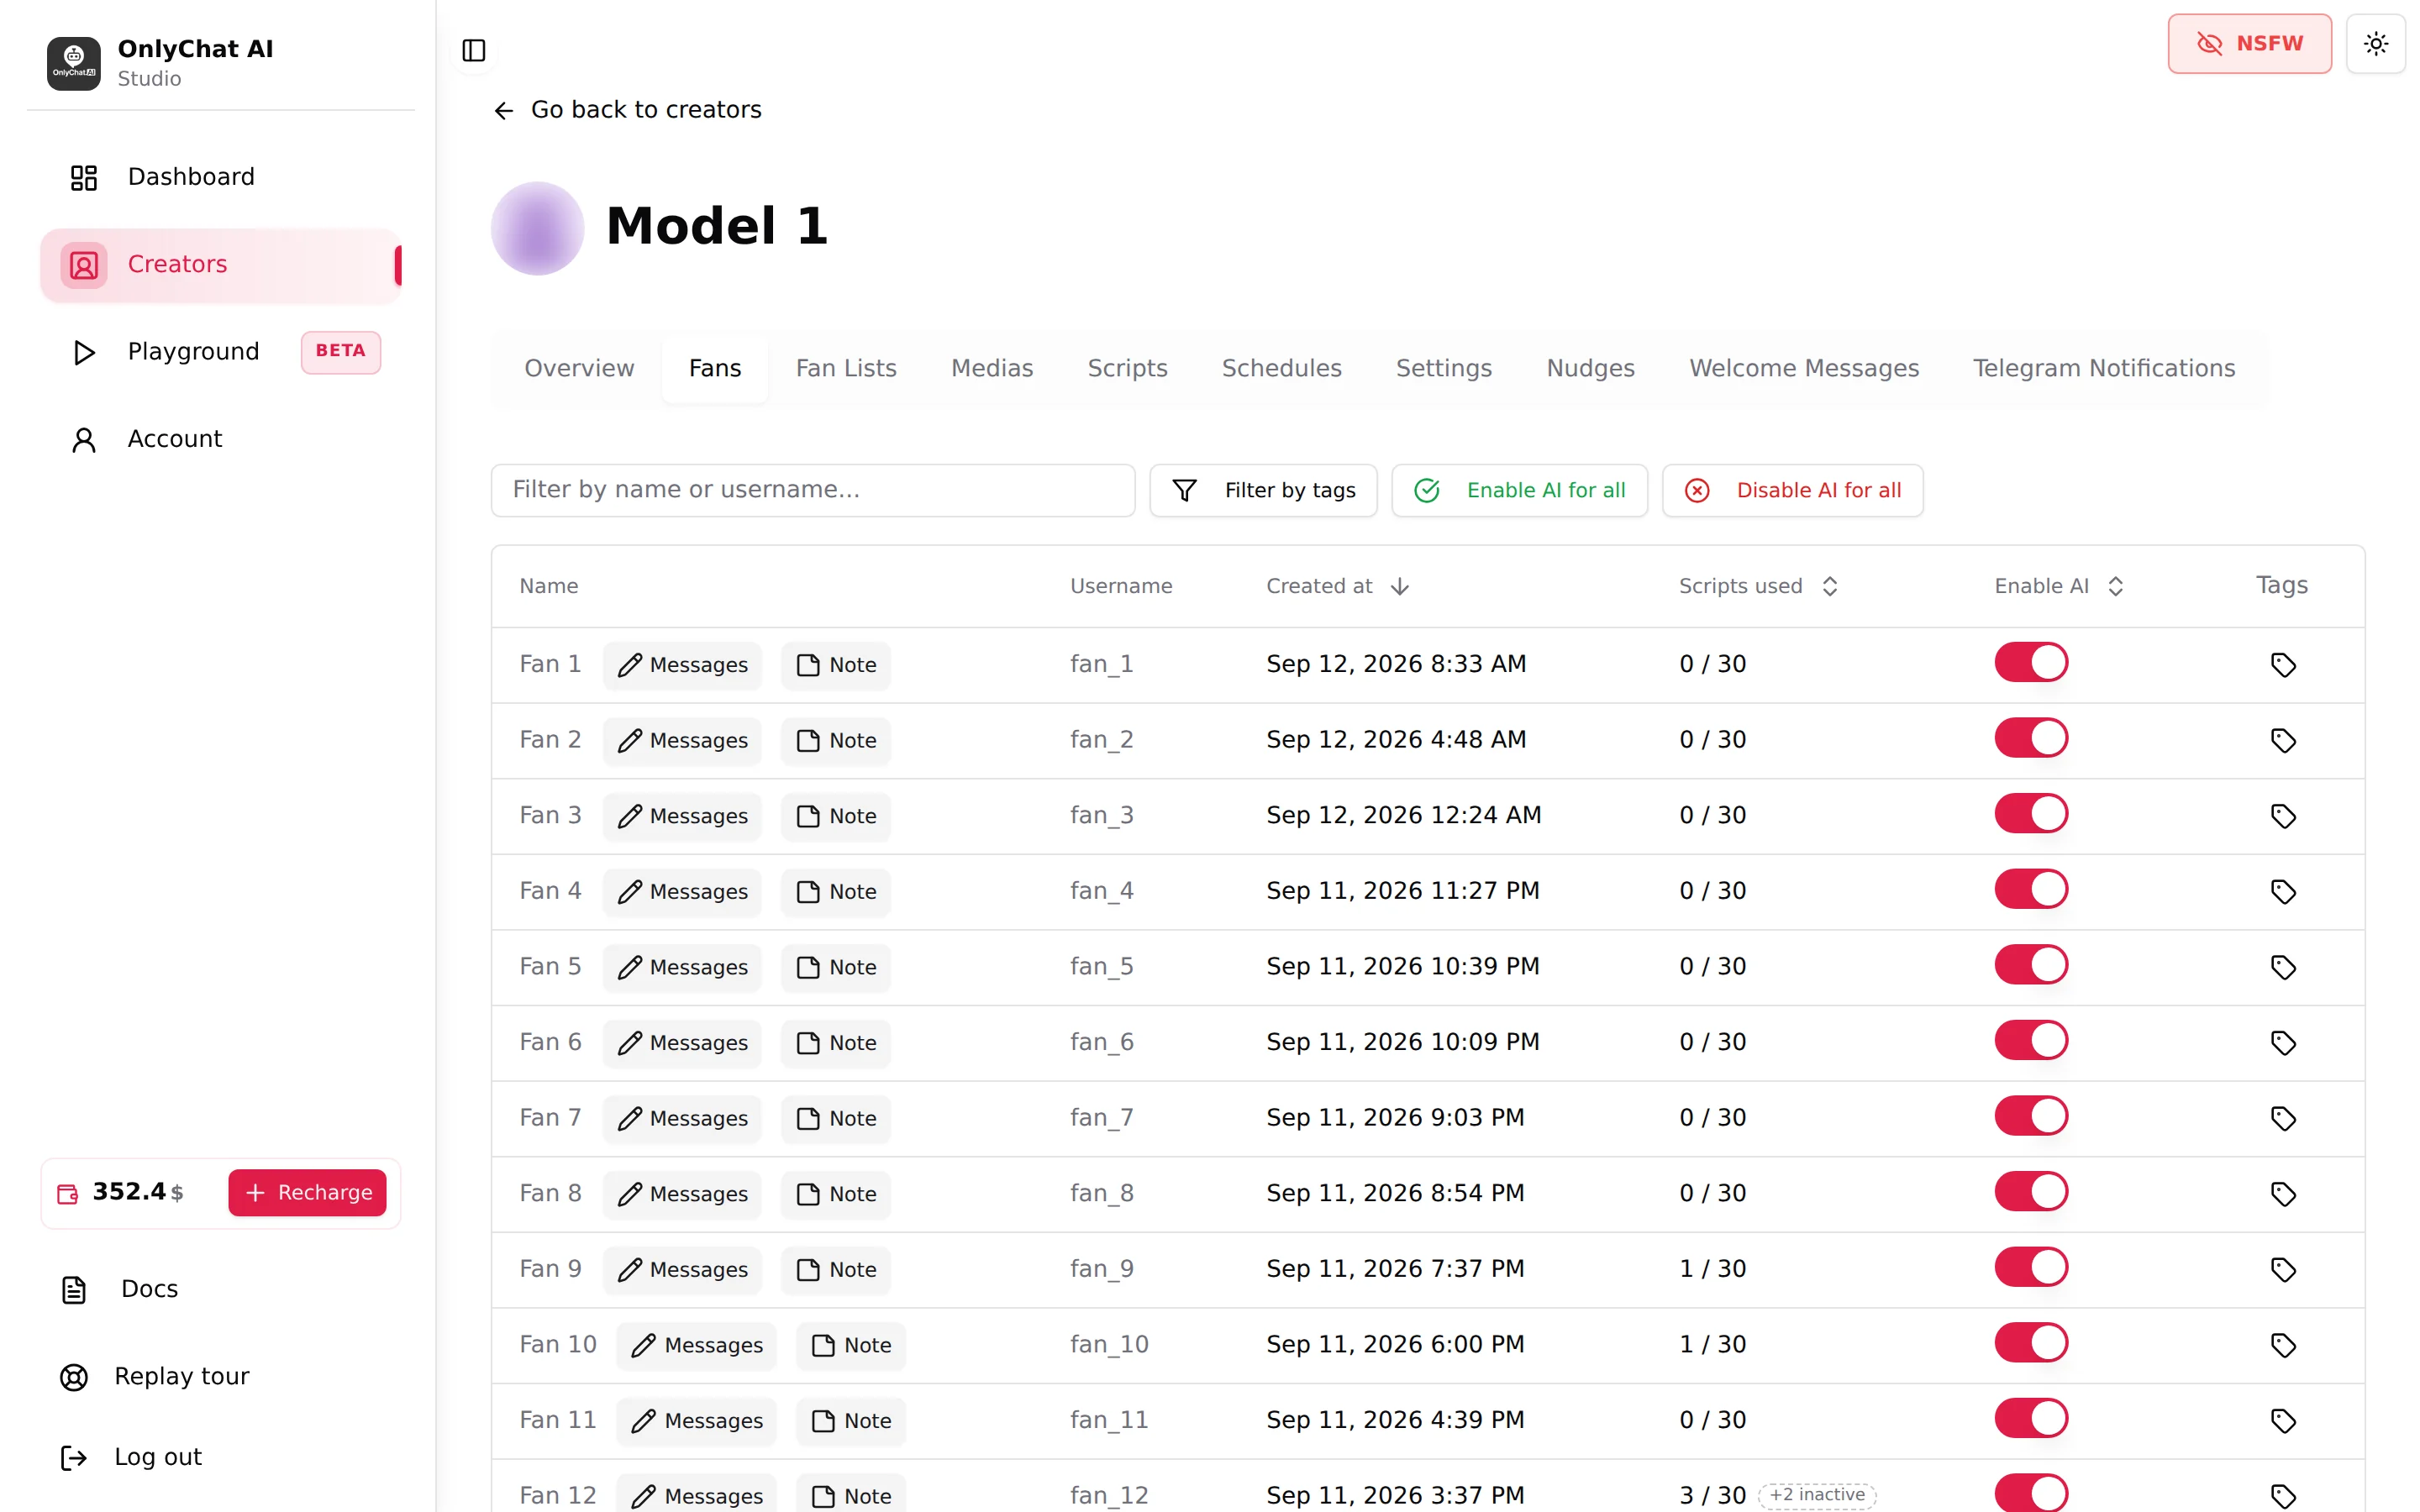
From a second OnlyFans account that sits in one of your Active lists, write a message to the creator. Wait about a minute, then open the Fans tab and click the row.
Result: the fan is listed, the answer is there, messages written by the AI carry the robot marker, and the Scripts used column starts counting.
Details: Fans list
Step 14: What to watch in the first week
Every morning: the Dashboard for yesterday's revenue and unlock rate, the Creators board for Live plus Synced, the balance, the license expiry, and the fans whose Scripts used counter turned red. Once a week: the Scripts tab of the dashboard, sorted by Best revenue, to keep the winners and retire the losers.
Result: you spend ten minutes a day and the AI does the chatting.
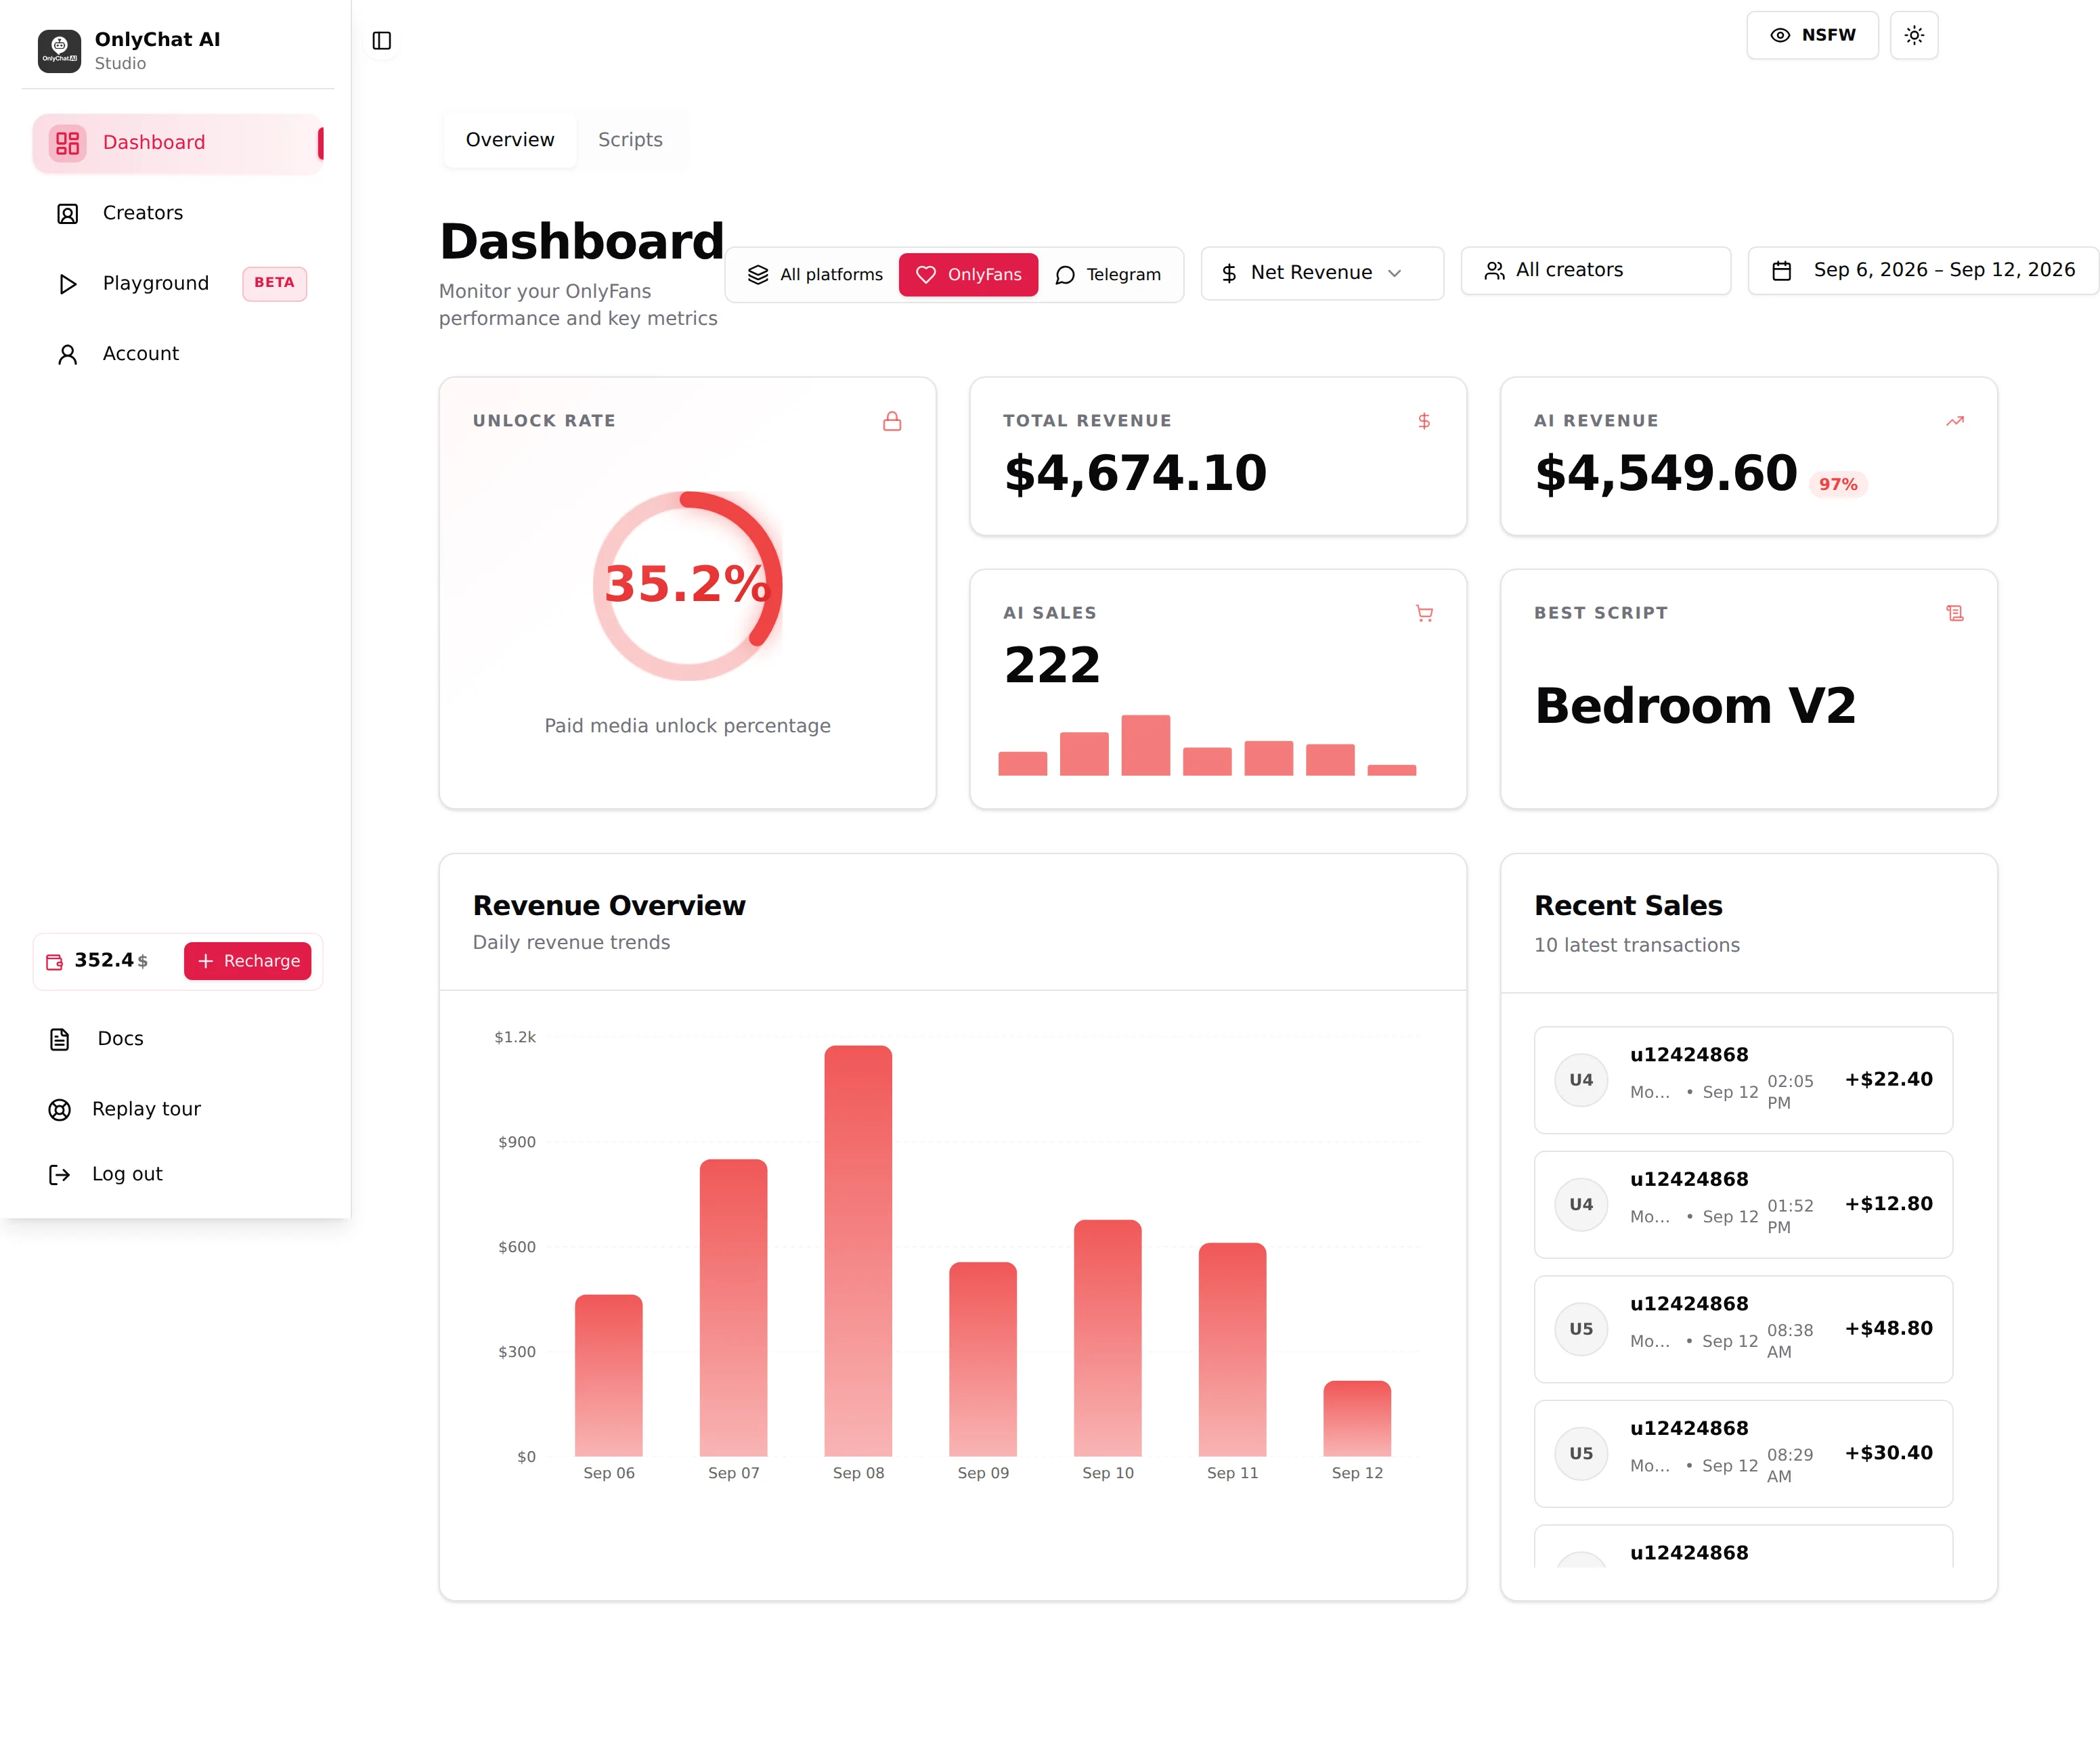
Details: Daily routine
Checklist
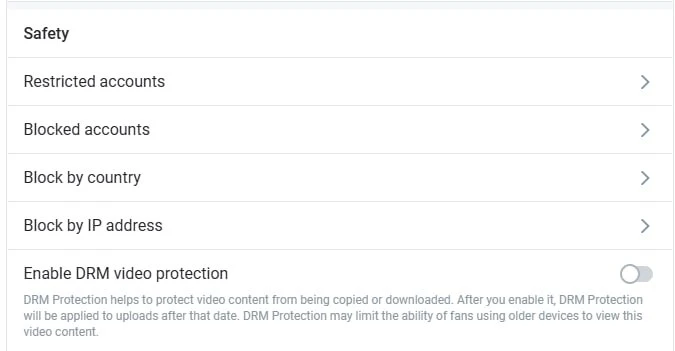
- DRM is off in the creator's OnlyFans settings, Privacy and safety, Safety block (otherwise videos do not sync).
- Account created and email code confirmed
- Balance positive, with enough for the next renewal
- One OnlyFans license bought (Basic or Premium)
- Extension loaded, allowed in Incognito and pinned
- Creator synced, card shows Synced
- License assigned, status "Ready to launch", Renew on
- At least one list in Active lists
- Settings, Details filled with no empty field
- Additional info written for the creator
- Vault lists synced, every item Ready for AI
- Two scripts created and switched Active
- Pace, cooldowns and strategies left on their defaults
- AI switch on, status Live
- One test message answered, checked on the Fans tab