
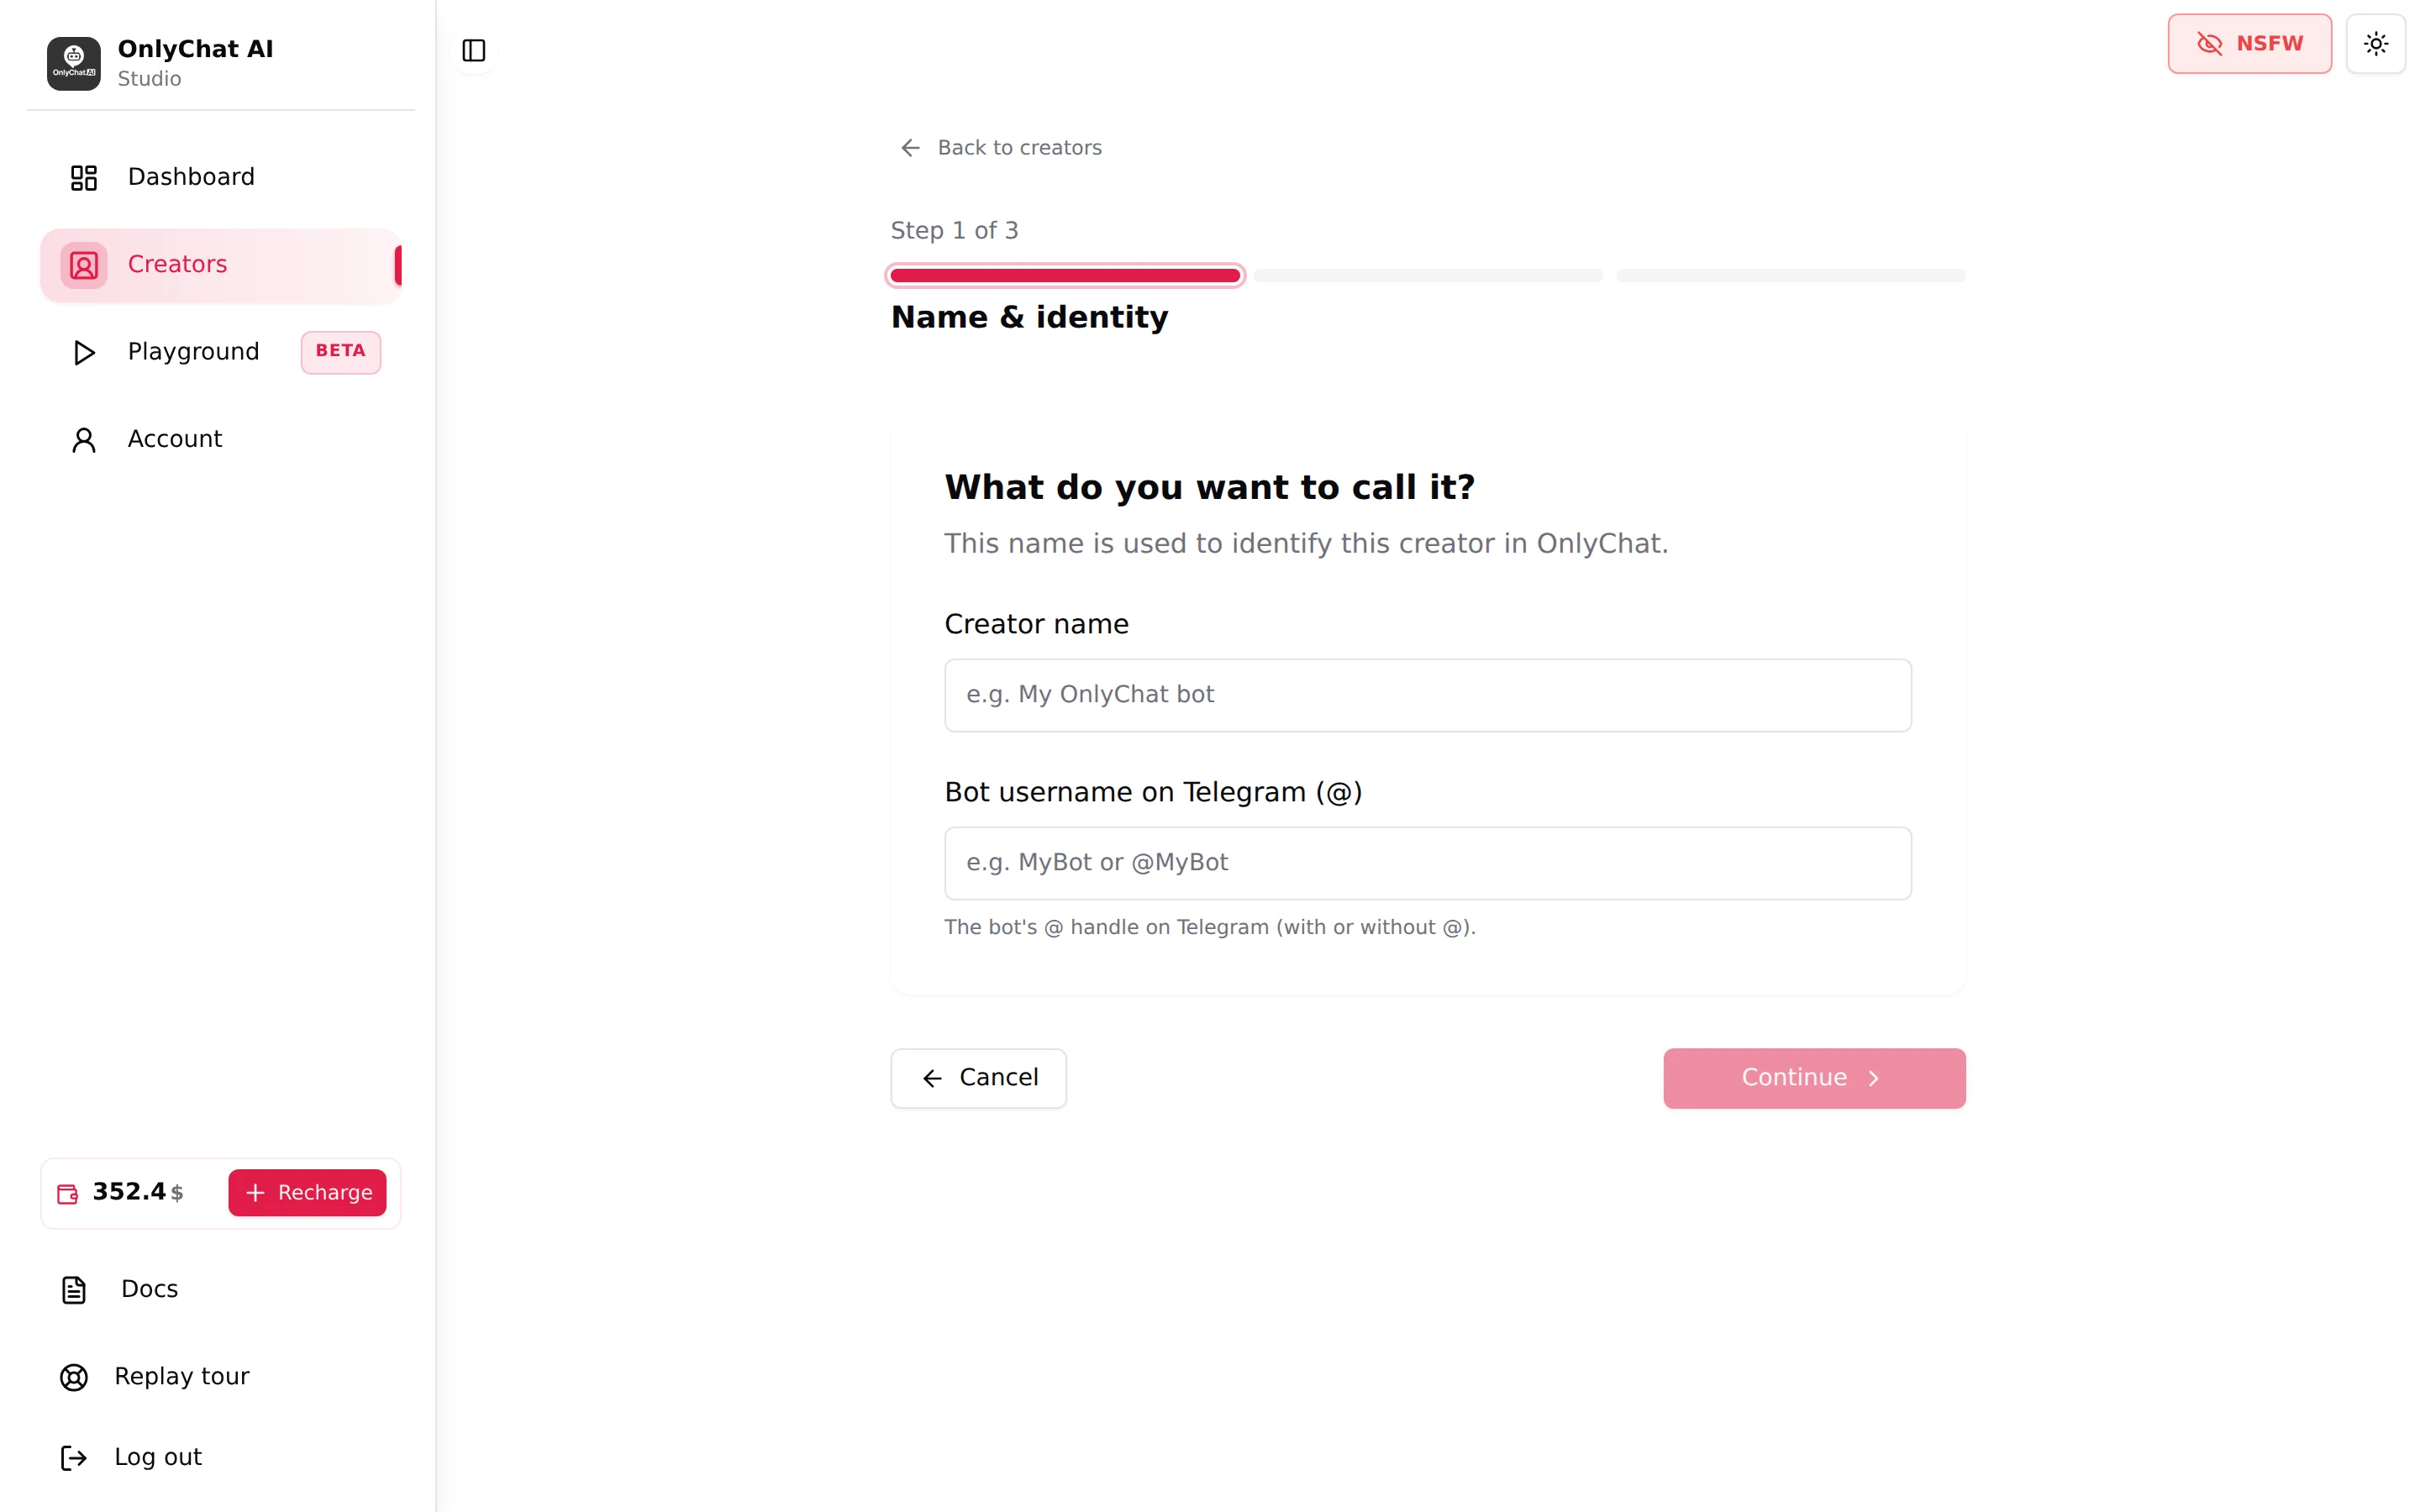
The bot is the technical bridge between the creator's Telegram account and OnlyChat. You create it once in BotFather, Telegram's official bot manager, and you get a token: a secret key that lets OnlyChat drive the bot. Fans never open the bot; they keep writing to the creator's profile. This page covers the BotFather side only. The OnlyChat side (the wizard) is in Add a Telegram creator.
Which account creates the bot
Do this from an account you control and keep, not from the creator's account. The account that owns the bot in BotFather is the only one that can revoke the token, change the picture or turn Secretary Mode on and off. The creator's account, the one fans talk to, is the exposed one; keeping the two apart means you never lose the bot if the creator's account is restricted.
Create the bot
- Open BotFatherIn Telegram, search for @BotFather and start the chat. BotFather has a blue verified badge. The OnlyChat wizard also gives you a direct link, "Open BotFather on Telegram".
- Send /newbotBotFather asks for two things in a row.
- Choose the display nameThis is what Telegram shows as the bot's name. It is not what fans see in the conversation (they see the creator's profile), so keep it simple, for example the creator's first name.
- Choose the usernameIt must be unique on Telegram and end with "bot", for example model1_bot. You will paste this exact handle in the OnlyChat wizard, with or without the @. Write it down.
- Copy the tokenBotFather replies with a message that contains the token, a string that looks like 123456789:AAHxxxx followed by more characters. Copy the whole line. Do not share it: anyone who has it can control the bot.
The OnlyChat wizard repeats these instructions in its own help box, "Where do I find my bot token?": "The token is a secret key that Telegram gives you when you create a bot. If you don't have it yet: Open Telegram and search for @BotFather. Send /newbot and follow the instructions. BotFather will send you a token. Copy it."
Give the bot a picture
The bot picture is what OnlyChat shows on the creator card and on the Overview tab. Without one, the card shows a tooltip: "No picture yet. Open BotFather, send /setuserpic and pick this bot: the photo shows up here on the next refresh."
- Send /setuserpic to BotFatherPick the bot from the list.
- Send the photoAny square image works.
- Refresh in OnlyChatOn the creator's Overview tab, click Refresh from Telegram. The toast "Bot profile updated." confirms it. If you skipped the picture, you get "Bot profile updated: no picture set in BotFather yet."
Two BotFather settings you will need later
You do not have to set them now, but knowing where they are saves time during Telegram setup.
| Setting | Path in BotFather | Why OnlyChat needs it |
|---|---|---|
| Secretary Mode | /mybots, select the bot, Bot Settings, Secretary Mode, Turn secretary mode on | A bot can only be attached to a Telegram Business account when Secretary Mode is on. This is step 1 of the setup checklist. |
| API Token, Revoke current token | /mybots, select the bot, API Token | Only if the token leaks or you want to rotate it. After revoking, paste the new token in the Renew bot token panel of the Overview tab, otherwise the bot stops replying. See Overview and bot token. |
Permissions the bot will receive
Permissions are not set in BotFather. They are set in the creator's Telegram app, under Settings, Telegram Business, Chatbots, your bot, Permissions. OnlyChat needs all five of the "Manage Messages" group: Read Messages, Reply to Messages, Mark Messages as Read, Delete Sent Messages, Delete Received Messages. The setup page in OnlyChat has a checkbox for each; it unlocks the verification button at 8 of 8 items checked.