
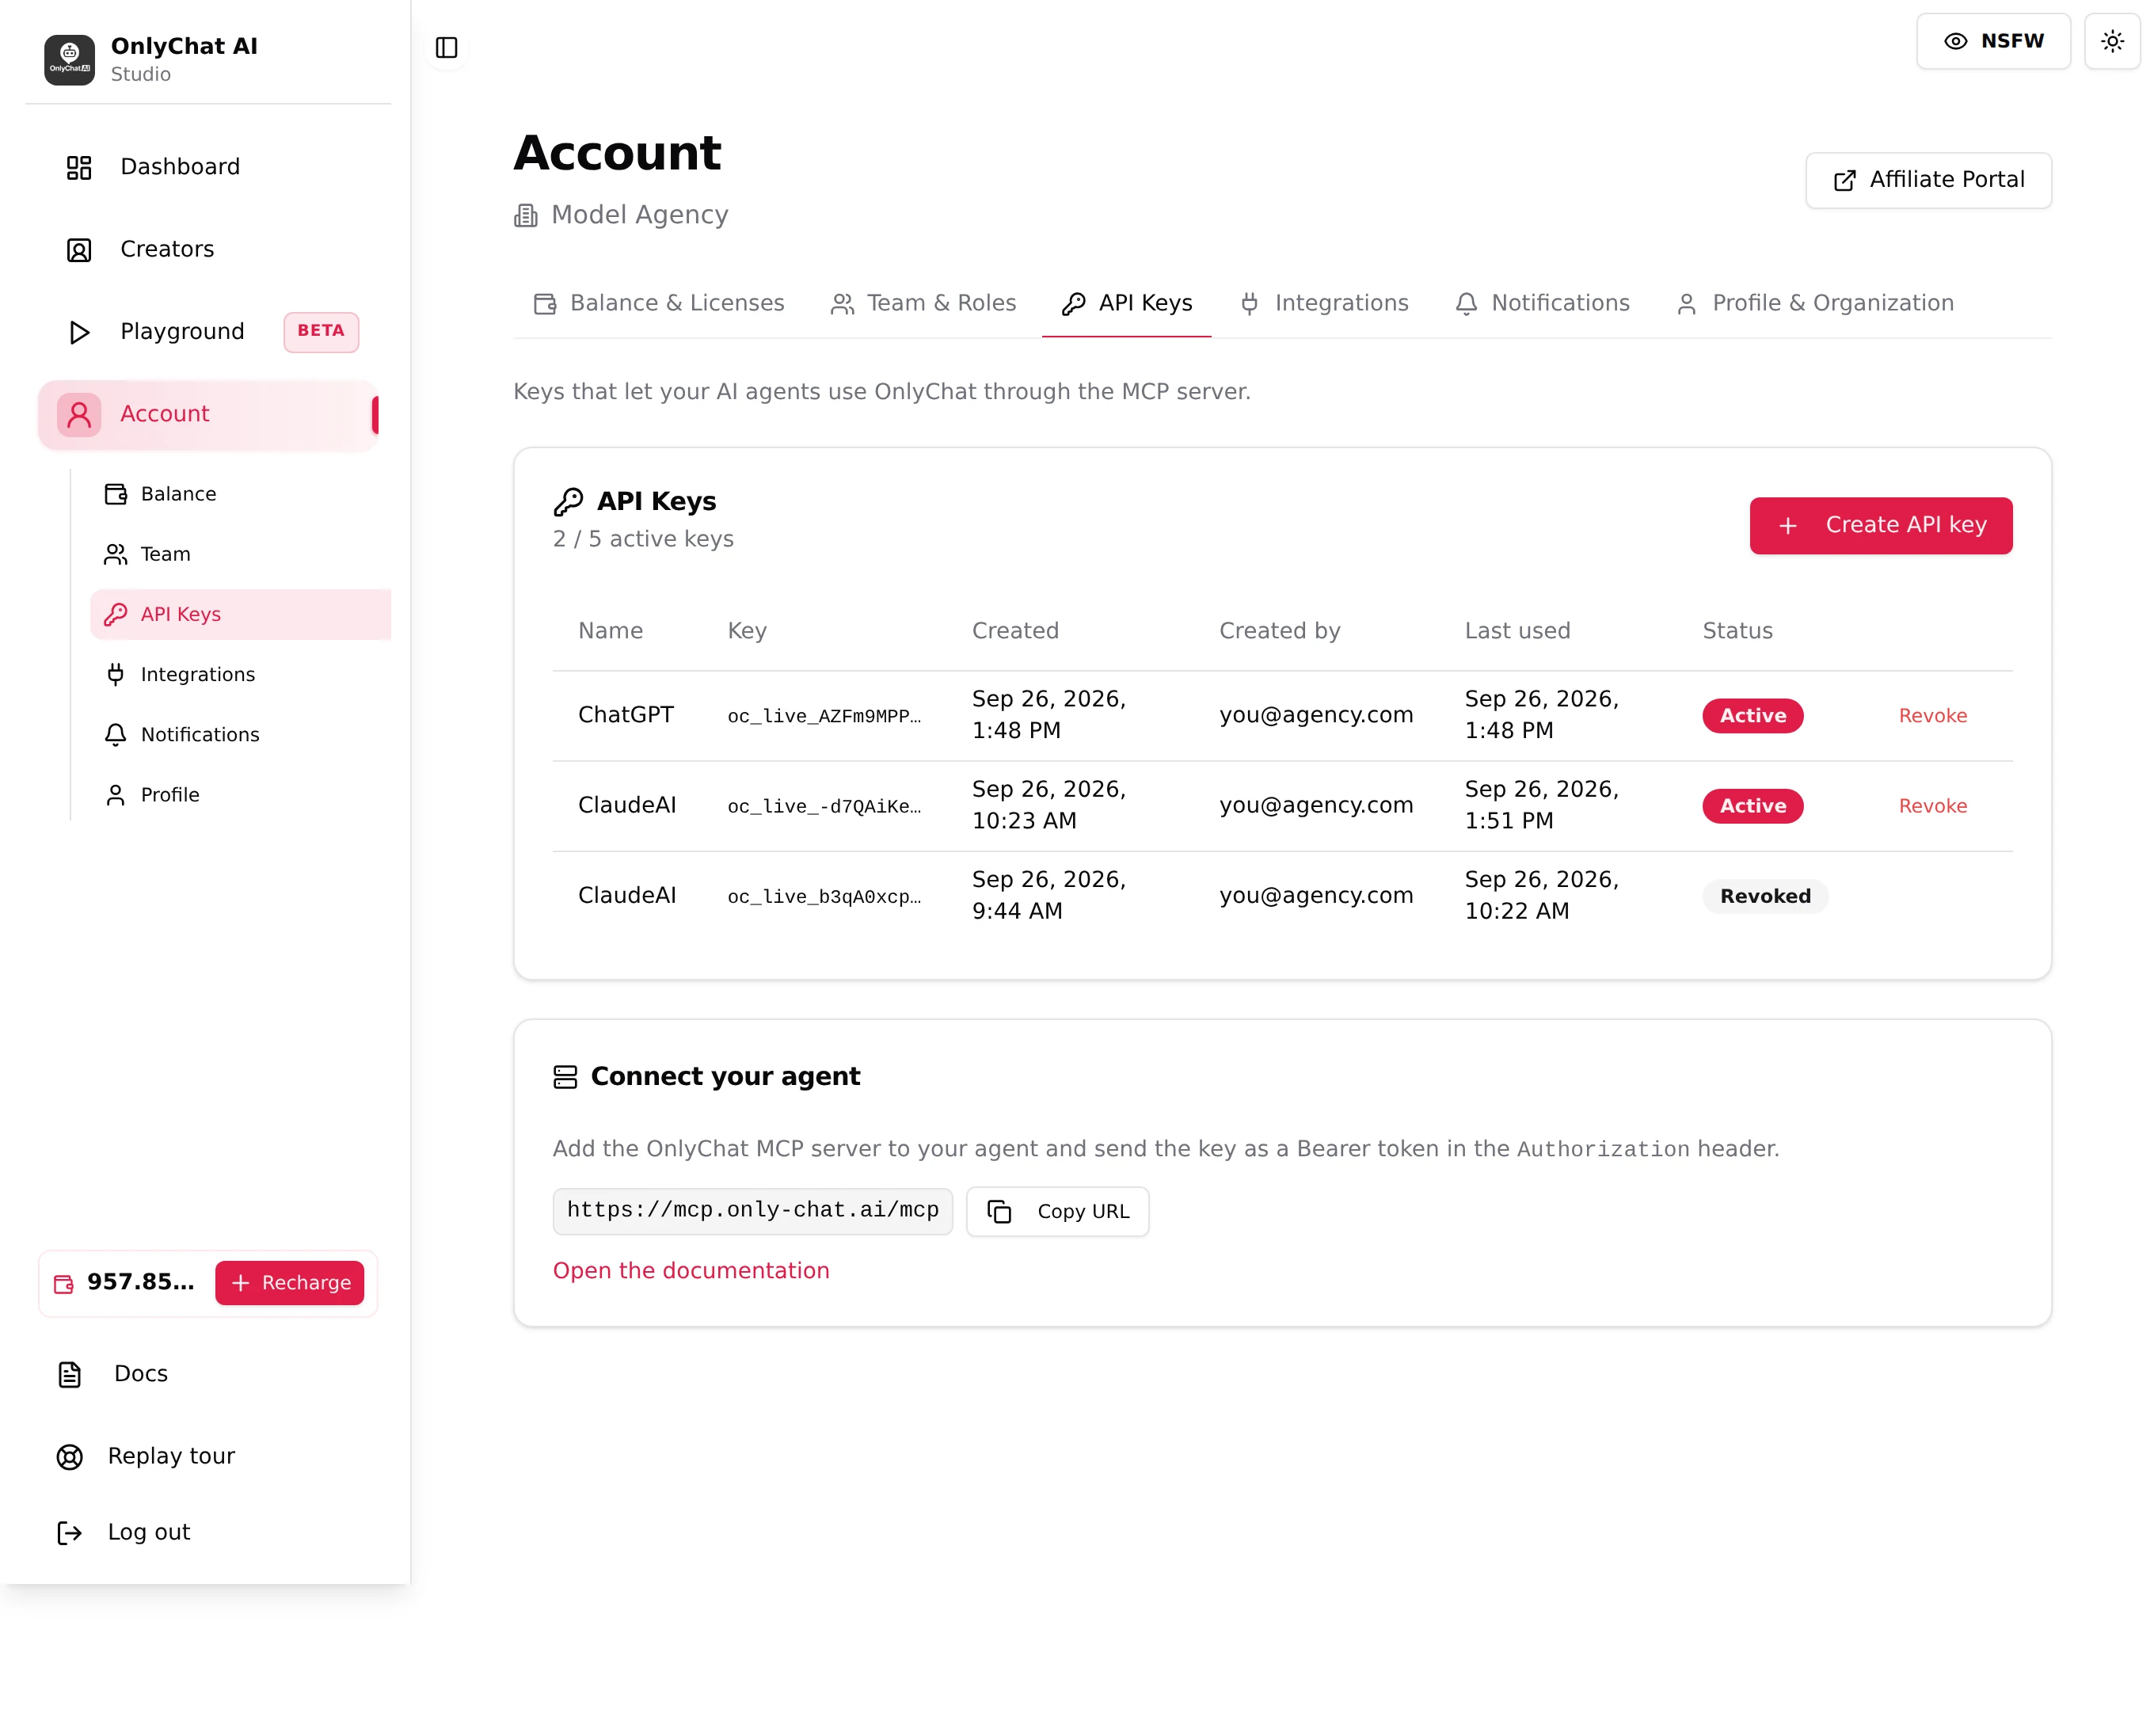
Every assistant needs the same two things: the server URL and your API key sent as a Bearer token in the Authorization header. Create the key first on the API Keys page.
| What | Value |
|---|---|
| Server URL | https://mcp.only-chat.ai/mcp |
| Header | Authorization: Bearer oc_live_your_key |
The account page has a Copy URL button and an Open the documentation link that always shows the exact, up-to-date steps for each client.
Claude
In Claude (claude.ai or the desktop app), the MCP is added as a custom connector.
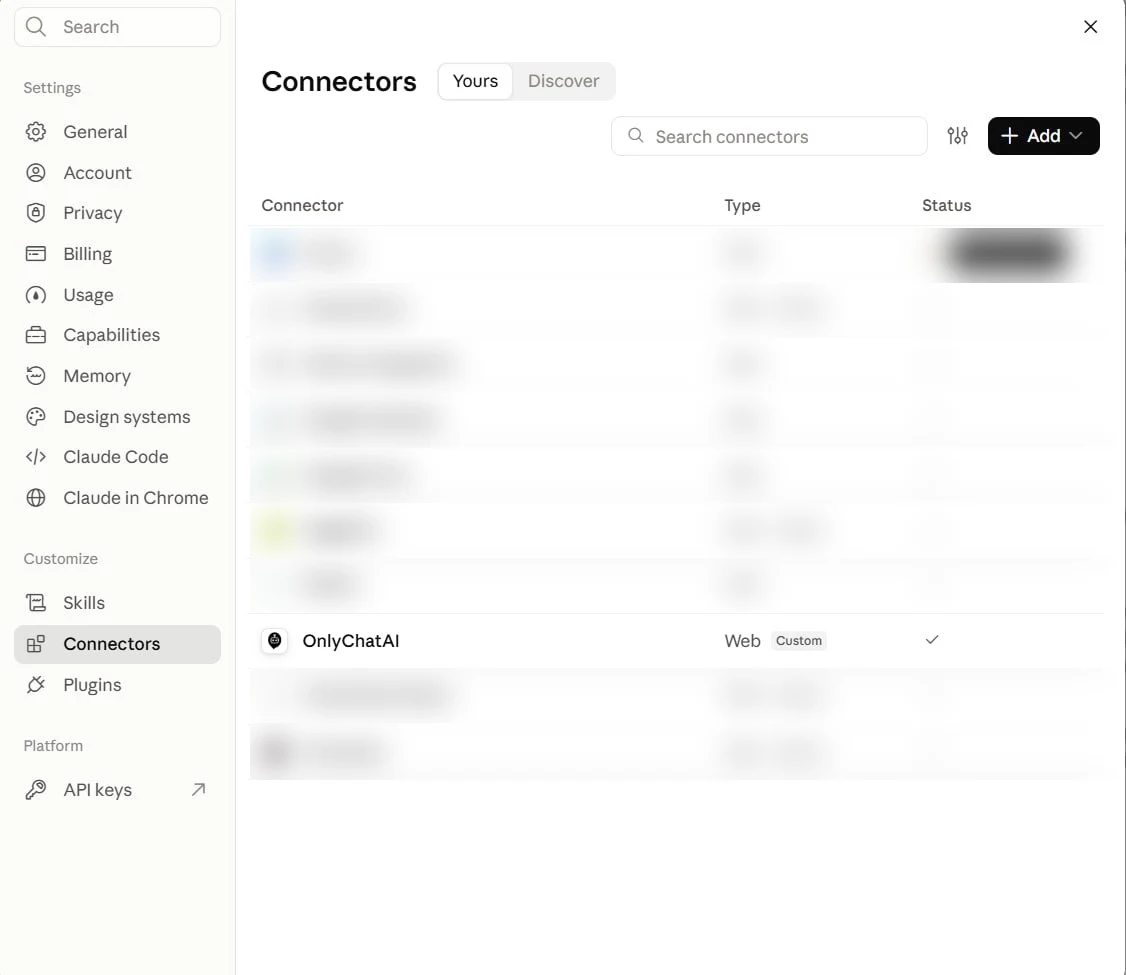
- Open Settings, then Connectors, and click Add, then Add custom connector.
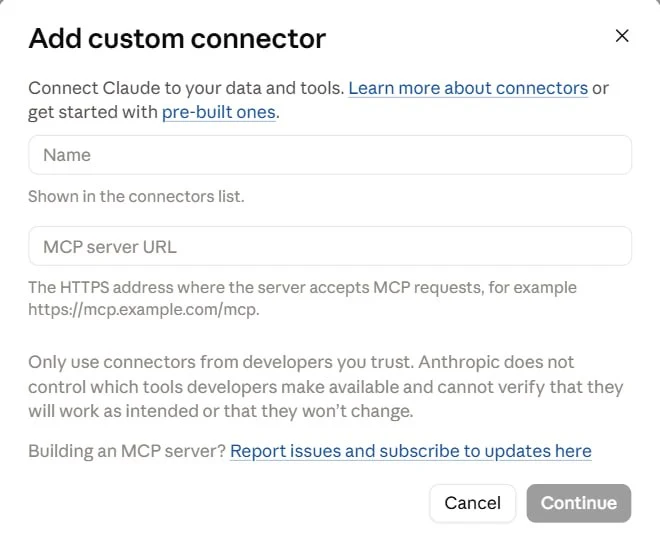
- Give it a name (for example OnlyChat) and paste the MCP server URL
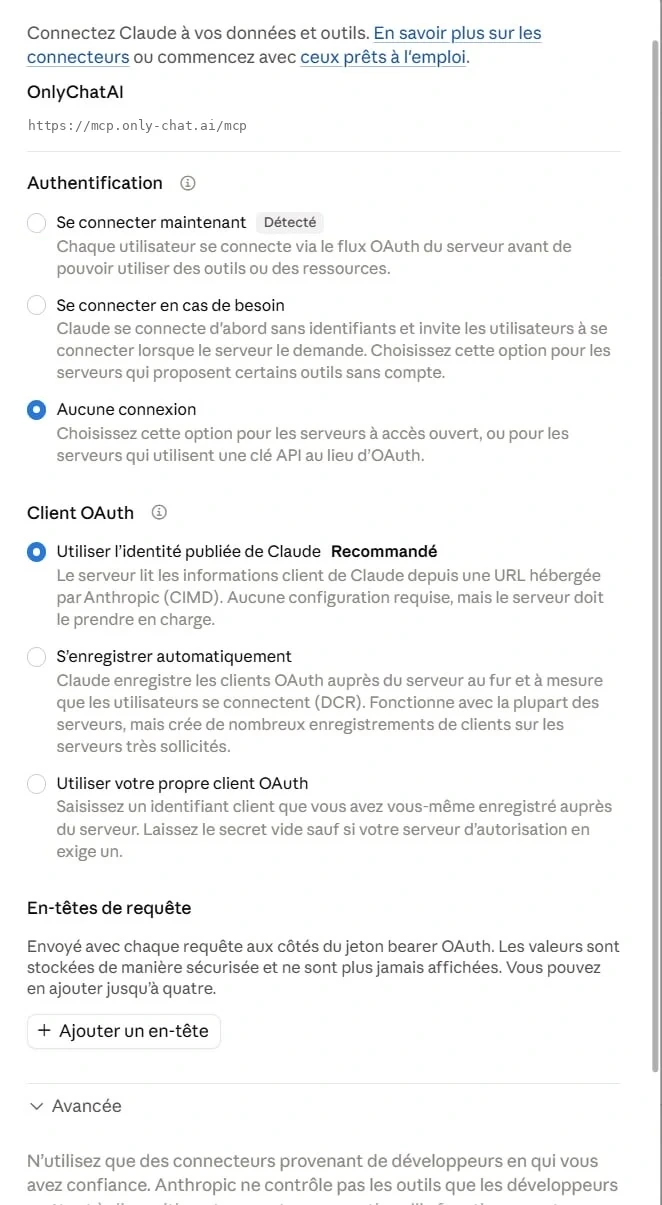
https://mcp.only-chat.ai/mcp, then Continue. - On the next screen, under Authentication, choose No connection (the option for servers that use an API key instead of OAuth). Claude pre-selects Sign in now with a Detected badge: ignore it and switch to No connection, otherwise the connector will not work. Then under Request headers, click Add a header: name
Authorization, valueBearer oc_live_your_key(capital B). Save. - Open a new chat, enable the OnlyChat connector from the tools menu. Claude lists the OnlyChat tools and asks before each action.
ChatGPT
In ChatGPT, the MCP is added as a plugin.
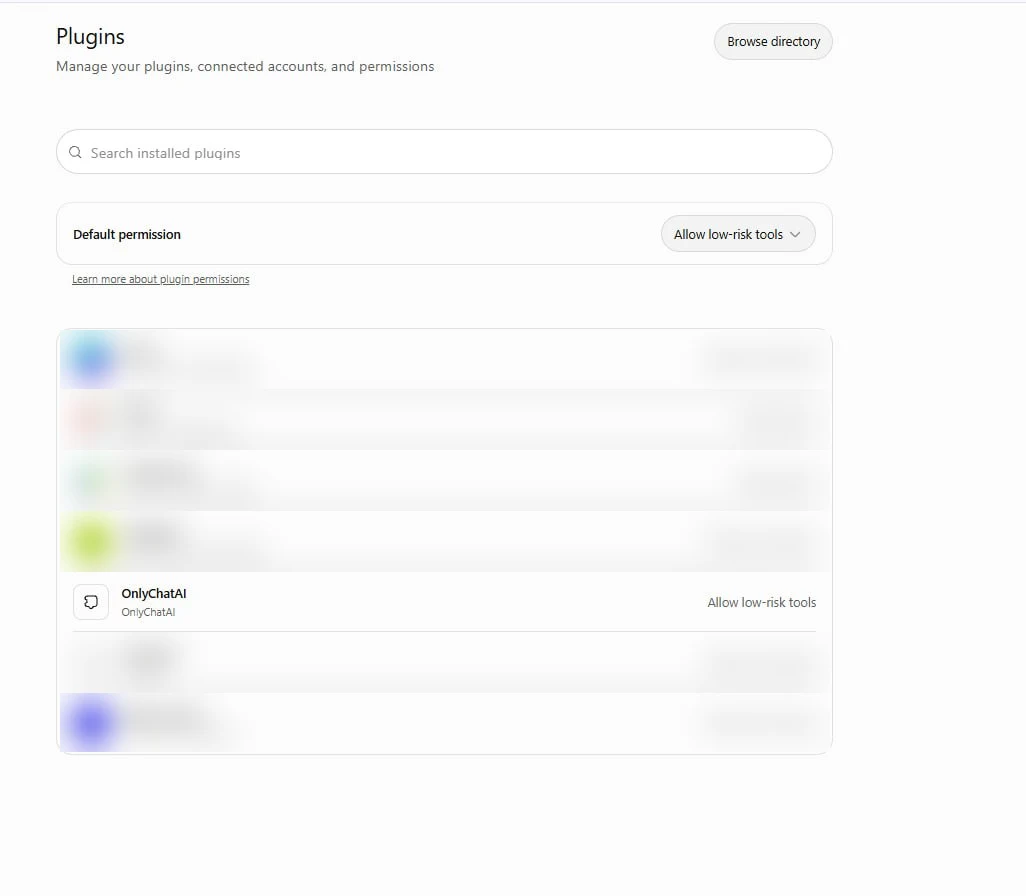
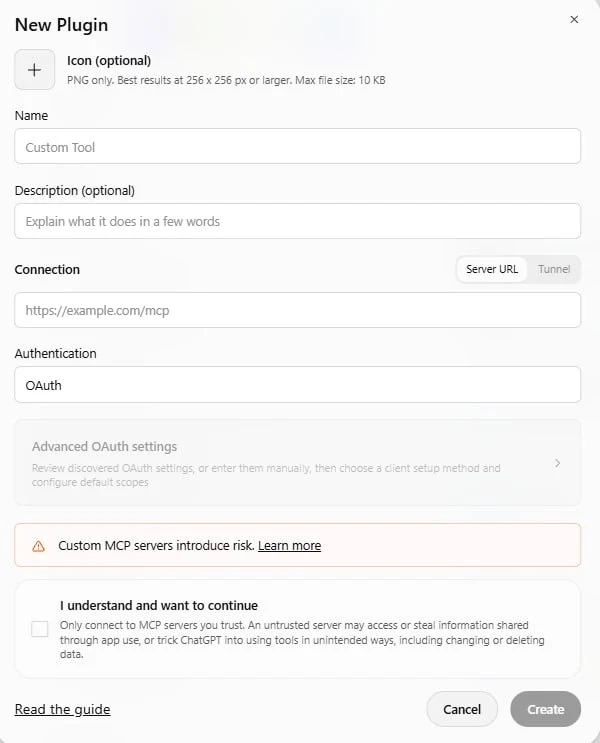
- Open Settings, then Plugins ("Manage your plugins, connected accounts, and permissions"), and add a new plugin: the New Plugin form opens.
- Fill in a name (for example OnlyChat). Under Connection, keep Server URL and paste
https://mcp.only-chat.ai/mcp. Under Authentication, choose the API key option and enterBearer oc_live_your_key(capital B). - Tick I understand and want to continue, then Create.
- Set the permission. Every plugin has a permission level, and the default Allow low-risk tools only lets ChatGPT use the read tools. To let it create or change scripts, folders and media, open the plugin's permission and choose Allow all tools.
- In a chat, enable the OnlyChat plugin from the tools menu.
If you do not see Plugins in your settings, your ChatGPT plan does not include custom plugins: use Claude, Codex or Cursor instead.
Codex and Cursor
For a coding agent, add the server to its MCP configuration file (Codex CLI config, or Cursor's mcp.json) with the URL and the same Authorization: Bearer header. Both then load the OnlyChat tools and can read and act from your terminal or editor.
The one gotcha
Write Bearer with a capital B in the header. bearer oc_live_... in lowercase is rejected with a 401. If your agent cannot connect, check that first, then that the key is still Active on the API Keys page.